“You made a pumpkin pie without turning on the oven?” My sister-in-law stood in my kitchen, one eyebrow raised, holding a fork like she was about to interrogate the slice on her plate. I just shrugged and handed her a dollop of whipped cream. She took a bite, and that eyebrow dropped faster than the temperature in November.
That was three Thanksgivings ago, and honestly, I haven’t made a traditional baked pumpkin pie since. Not because I don’t love the classic version—I do, deeply—but because this no-bake pumpkin pie with gingersnap crust solved a problem I didn’t even know I had. It’s the dessert that says “I put real effort into this” while secretly being the easiest thing you’ll make all holiday season.
The filling is impossibly silky, thanks to a little trick I picked up from testing about a dozen versions. And that crust? Crunchy, spicy, and it stays perfectly firm without ever seeing the inside of an oven. It’s the kind of recipe that makes you wonder why you ever stressed about pie crust in the first place. Let’s just say, this pie has earned a permanent spot on my fall table—and I have a feeling it’ll earn one on yours, too.
Why You’ll Love This Recipe
Let me tell you why this no-bake pumpkin pie is about to become your new favorite fall dessert.
- No Oven Required : This is the real star of the show. Whether your oven is full of side dishes or you just don’t feel like dealing with the heat, this pie comes together completely on the countertop.
- Simple Ingredients : You probably have most of these in your pantry right now. No fancy extracts, no hard-to-find spices—just honest, real food that works.
- Perfect for Holidays : This pie is a lifesaver for Thanksgiving, Friendsgiving, or any fall gathering where you need one less thing to worry about. It actually gets better after a day in the fridge, so you can make it ahead and cross it off your list.
- Crowd-Pleaser : I’ve served this to pumpkin pie purists and people who “don’t really like pumpkin” (yes, they exist), and every single person went back for seconds. The gingersnap crust wins them over every time.
- Unbelievably Creamy : The texture is what gets people. It’s dense but light, rich but not heavy—like a pumpkin cheesecake and a classic custard pie had a beautiful baby.
What makes this recipe different from the dozens of other no-bake pies out there? It’s the balance. I tested this until the filling set perfectly without any gelatin weirdness, and the crust stayed crunchy without getting soggy. This isn’t just another version of no-bake pumpkin pie—it’s the one that actually works, every single time.
Plus, it’s the kind of dessert that makes you close your eyes after the first bite. That’s not something I say lightly. It’s comfort food, reimagined—easier, faster, and with the same soul-soothing satisfaction that makes fall baking so special.
What Ingredients You Will Need
This recipe uses simple, wholesome ingredients that come together to create something truly special. Most of these are pantry staples, especially if you do any fall baking at all.
For the Gingersnap Crust
- 2 cups gingersnap cookie crumbs (about 8 ounces, or one standard box of store-bought gingersnaps—I prefer Anna’s or Nabisco)
- 6 tablespoons unsalted butter, melted (salted butter works too, just skip the salt in the crust)
- 2 tablespoons granulated sugar (optional, only if your gingersnaps aren’t very sweet)
- Pinch of salt (skip if using salted butter)
For the No-Bake Pumpkin Filling
- 1 ½ cups heavy cream, cold (you can substitute full-fat coconut cream for a dairy-free version)
- 8 ounces cream cheese, softened to room temperature (full fat works best here—low fat can make the filling too loose)
- 1 cup pumpkin puree (not pumpkin pie filling—make sure it’s 100% pure pumpkin. Libby’s is my go-to brand)
- ¾ cup packed light brown sugar (dark brown sugar works too, for a deeper molasses flavor)
- 1 teaspoon vanilla extract
- 1 ½ teaspoons pumpkin pie spice (or make your own: ½ tsp cinnamon, ¼ tsp nutmeg, ¼ tsp ginger, ⅛ tsp cloves, ⅛ tsp allspice)
- ½ teaspoon ground cinnamon (because you can never have too much cinnamon in a pumpkin pie)
- Pinch of salt
For the Topping (Optional but Highly Recommended)
- 1 cup heavy cream, cold
- 2 tablespoons powdered sugar
- ½ teaspoon vanilla extract
- Crushed gingersnaps or candied pecans for garnish
A quick note on the cream cheese: let it sit on the counter for at least 30 minutes before you start. Cold cream cheese will leave you with lumpy filling, and nobody wants that. For the pumpkin puree, look for cans that say “100% pure pumpkin” on the label. Pumpkin pie filling has sugar and spices already added, which will throw off the whole balance of this recipe.
If you’re feeling adventurous, you can swap the gingersnaps for graham crackers or even chocolate wafer cookies. But honestly? The spicy-sweet ginger flavor against the creamy pumpkin filling is what makes this pie unforgettable. Trust me on this one.
Equipment Needed
You don’t need a fancy kitchen to make this pie. Here’s what you’ll actually use:
- 9-inch pie dish (glass or ceramic works best—metal can affect the crust setting time)
- Food processor or rolling pin (for crushing the gingersnaps. A food processor is faster, but a rolling pin and a zip-top bag work just fine)
- Electric hand mixer or stand mixer (you can whisk by hand, but your arm will definitely feel it)
- Medium mixing bowls (at least two—one for the crust, one for the filling)
- Rubber spatula (for scraping every last bit of filling into the crust)
- Measuring cups and spoons
- Plastic wrap (for covering the pie while it chills)
If you don’t have a food processor, don’t stress. I’ve made this crust more times than I can count using a rolling pin and a sturdy zip-top bag. Just put the cookies in the bag, seal it, and go to town. It’s actually kind of therapeutic after a long day.
One tip: use a glass pie dish if you have one. It helps the crust chill evenly, and you can see when the edges are perfectly set. I picked up mine at a thrift store for three dollars, and it’s been my go-to for years.
Preparation Method
Alright, let’s make this pie. I’ll walk you through every step so you feel confident from start to finish.
Step 1: Make the Gingersnap Crust
Start by crushing your gingersnaps into fine crumbs. If you’re using a food processor, pulse until you have uniform crumbs—about 20-30 seconds. If you’re using a rolling pin, put the cookies in a zip-top bag and crush until no large pieces remain. You want fine, sand-like crumbs for the best texture.
Transfer the crumbs to a medium bowl. Pour in the melted butter, sugar (if using), and salt. Stir with a fork until every crumb is coated. The mixture should look like wet sand and hold together when you squeeze it in your fist.
Press the mixture firmly into your 9-inch pie dish. Start with the sides, working your way around the edge, then move to the bottom. Use the bottom of a measuring cup or a flat glass to press it down evenly. Don’t rush this part—a well-packed crust won’t crumble when you slice the pie later.
Place the crust in the refrigerator to chill while you make the filling. At least 20 minutes, but longer is fine.
Step 2: Whip the Heavy Cream
Pour the cold heavy cream into a large mixing bowl. Using an electric hand mixer or stand mixer with the whisk attachment, beat the cream on medium-high speed until stiff peaks form. This takes about 3-4 minutes. You’ll know it’s ready when you lift the beaters and the cream holds its shape without drooping.
Set the whipped cream aside in the refrigerator while you make the pumpkin base. Keeping it cold is important—it’ll help the filling set properly later.
Step 3: Make the Pumpkin Base
In a separate large bowl, beat the softened cream cheese with an electric mixer on medium speed until smooth and creamy, about 2 minutes. Scrape down the sides of the bowl with your spatula.
Add the pumpkin puree, brown sugar, vanilla extract, pumpkin pie spice, cinnamon, and salt. Beat on medium speed until everything is completely combined and smooth. Stop and scrape the bowl at least once to make sure there are no hidden lumps. The mixture should be thick, fragrant, and a beautiful deep orange color.
Step 4: Fold Everything Together
This is the most important step, so pay attention. Take your whipped cream out of the fridge. Add about one-third of it to the pumpkin mixture and gently fold it in with your rubber spatula. This first addition lightens the base and makes it easier to incorporate the rest of the cream without deflating it.
Add the remaining whipped cream in two more additions, folding gently each time. Use a cut-and-fold motion: slice through the center of the mixture with your spatula, scrape along the bottom of the bowl, and fold the mixture over itself. Rotate the bowl as you go. Stop as soon as you don’t see any white streaks—overmixing will make the filling too dense.
The final filling should be light, airy, and cloud-like. Taste it. Yes, really. You’ve earned it.
Step 5: Assemble the Pie
Take your chilled crust out of the refrigerator. Spoon the filling into the crust, spreading it evenly with your spatula. Give the pie dish a few gentle taps on the counter to settle the filling and remove any air pockets.
Smooth the top with the back of a spoon or an offset spatula. If you want those pretty swirl marks on top, drag the tip of your spatula in a circular pattern across the surface.
Step 6: Chill the Pie
Cover the pie loosely with plastic wrap and refrigerate for at least 6 hours, but overnight is better. I know that’s a long wait, but trust me—this pie needs time to set properly. The filling firms up as it chills, and the flavors meld together into something truly special.
If you’re in a hurry, you can speed things up by placing the pie in the freezer for 2-3 hours. Just make sure to move it to the refrigerator at least 30 minutes before serving so it slices cleanly.
Step 7: Make the Whipped Topping (Optional)
Right before you’re ready to serve, make the fresh whipped cream. Pour the cold heavy cream, powdered sugar, and vanilla extract into a bowl. Beat on medium-high speed until soft peaks form. Don’t overbeat—you want it pillowy, not buttery.
Spread or pipe the whipped cream over the chilled pie. Sprinkle crushed gingersnaps or candied pecans on top for that extra crunch. Slice, serve, and watch everyone’s faces light up.
Cooking Tips & Techniques
I’ve made this pie about a dozen times, and I’ve learned a few things along the way. Here are my best tips to make sure yours turns out perfect:
Don’t skip chilling the crust. I know it’s tempting to rush, but a warm crust will start melting the filling as soon as you pour it in. Give it at least 20 minutes in the fridge—longer if you have the time. Your crust will stay crunchy and your filling will set beautifully.
Room temperature cream cheese is non-negotiable. I learned this the hard way. Cold cream cheese creates lumps that no amount of mixing can fix. Set it out on the counter for 30-45 minutes before you start. If you forget, you can microwave it in 10-second bursts, but be careful—you want it soft, not melted.
Fold, don’t stir. When you’re combining the whipped cream with the pumpkin mixture, use a gentle folding motion. Stirring vigorously will deflate all that air you worked so hard to whip in, and your pie will end up dense instead of light and creamy.
Taste as you go. Before you pour the filling into the crust, taste it. Adjust the spices if you want more kick, add a pinch more salt if it needs it, or stir in a little extra vanilla. This is your pie—make it taste like you.
Patience is a virtue. I know waiting 6 hours feels like an eternity, but this pie really does need that time to set. If you slice it too early, you’ll end up with a delicious but messy puddle on your plate. Overnight is ideal—the flavors deepen and the texture becomes perfectly sliceable.
One mistake I made early on: I used pumpkin pie filling instead of pure pumpkin puree. The result was cloyingly sweet and the texture was off. Learn from my failure and double-check that label.
Variations & Adaptations
This no-bake pumpkin pie is incredibly versatile. Here are some ways to make it your own:
Dairy-Free Version
Swap the heavy cream for full-fat coconut cream (chill the can overnight and scoop off the solid top). Use dairy-free cream cheese—I like Kite Hill or Violife. The texture will be slightly different, but it’s still incredibly creamy and delicious.
Gluten-Free Version
Most gingersnaps contain gluten, but you can easily find gluten-free versions at most grocery stores. Or use gluten-free graham crackers instead. The rest of the recipe is naturally gluten-free, so this is an easy swap.
Pumpkin Cheesecake Hybrid
Add an extra 4 ounces of cream cheese to the filling for a denser, cheesecake-like texture. Reduce the heavy cream to 1 cup to keep the filling from getting too loose. The result is a no-bake pumpkin cheesecake that’s absolutely decadent.
Spiced-Up Version
Add ¼ teaspoon of cardamom and a pinch of black pepper to the filling for a more complex spice profile. The pepper doesn’t make it spicy—it just enhances the other flavors and adds a subtle warmth.
Individual Mini Pies
Use a muffin tin with liners instead of a pie dish. Press the crust into each liner, fill with the pumpkin mixture, and chill. These are perfect for parties or portion control, and they’re always a hit with kids.
I tried the pumpkin cheesecake hybrid version last year for a Friendsgiving potluck, and it disappeared faster than anything else on the dessert table. Just saying.
Serving & Storage Suggestions
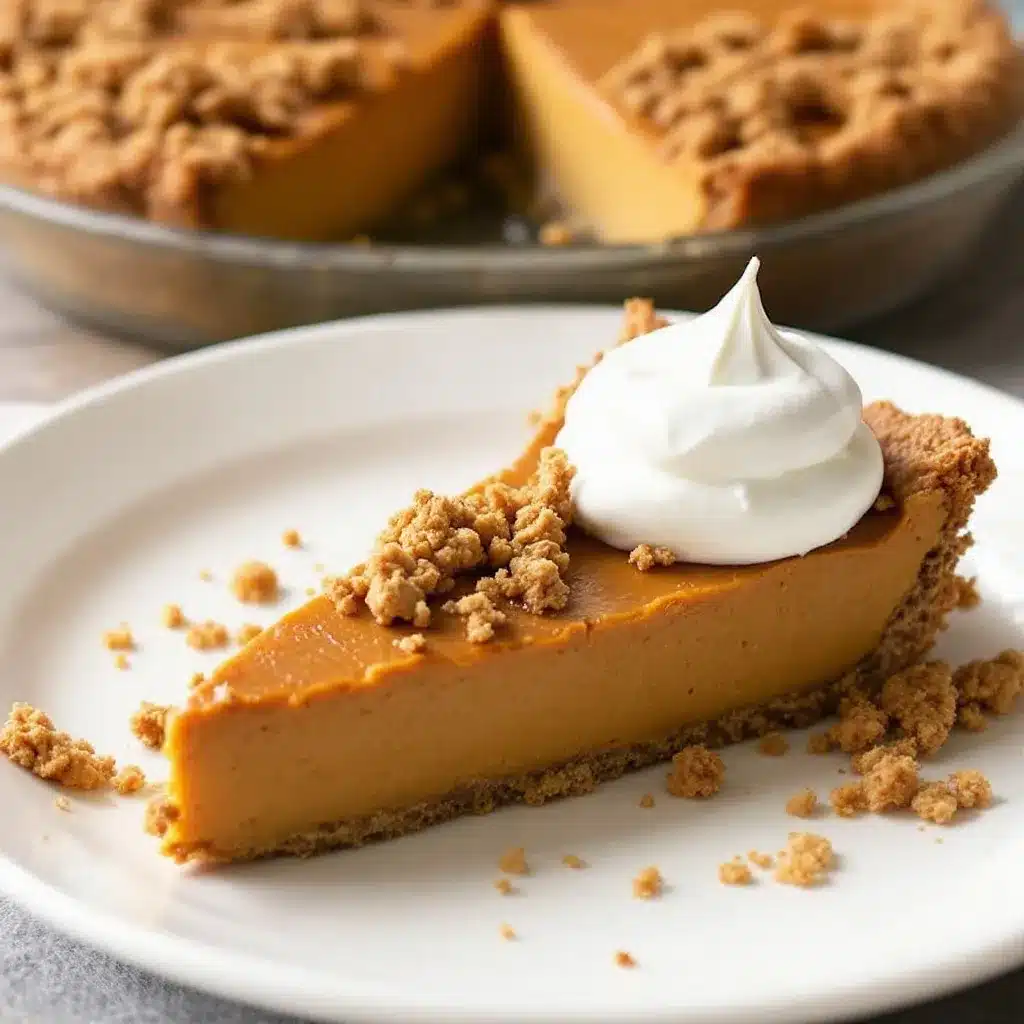
This pie is best served cold, straight from the refrigerator. The filling is firm but creamy, and the crust has that perfect snap. I like to let it sit at room temperature for about 10 minutes before slicing—it makes the filling slightly softer and easier to cut cleanly.
For presentation, I go simple: a dollop of whipped cream on each slice, a sprinkle of crushed gingersnaps, and maybe a few candied pecans if I’m feeling fancy. It looks beautiful without needing any complicated piping or garnishes.
This pie pairs beautifully with a hot cup of coffee or spiced apple cider. If you’re serving it after a big meal, keep the slices modest—it’s rich enough that a little goes a long way.
Storage: Cover the pie tightly with plastic wrap or foil and store it in the refrigerator for up to 5 days. The crust will stay crunchy for the first 2-3 days, then start to soften slightly. Honestly, I kind of like it that way—it’s like a pumpkin pie and a pudding pie had a happy accident.
Freezing: This pie freezes beautifully. Wrap the entire pie (or individual slices) tightly in plastic wrap, then in foil, and freeze for up to 3 months. Thaw in the refrigerator overnight before serving. The texture will be slightly softer after freezing, but it’s still absolutely delicious.
One thing I’ve noticed: the flavors actually get better after a day or two in the fridge. The spices meld together, the sweetness balances out, and every bite tastes more complex. So if you can resist eating it all on day one, you’re in for a treat on day two.
Nutritional Information & Benefits
Here’s the honest truth: this is a dessert, not a health food. But it does have some redeeming qualities worth mentioning.
Pumpkin puree is packed with vitamin A (in the form of beta-carotene), which is great for eye health and immune function. It’s also a good source of fiber, which helps with digestion and keeps you feeling satisfied. The ginger in the crust has anti-inflammatory properties, and cinnamon can help regulate blood sugar levels.
Estimated nutritional values per slice (based on 8 servings):
- Calories: 380-420
- Fat: 28g
- Carbohydrates: 34g
- Protein: 5g
- Fiber: 2g
- Sugar: 22g
These numbers will vary depending on your specific ingredients and portion sizes. If you’re watching your sugar intake, you can reduce the brown sugar to ½ cup without sacrificing too much sweetness. The natural sweetness of the pumpkin and the spice from the gingersnaps carry a lot of the flavor.
For those with dietary restrictions, this recipe can easily be adapted to be gluten-free and dairy-free (see the variations section above). It’s also naturally nut-free, though you’ll want to double-check your specific brands if allergies are a concern.
I personally love that this dessert feels indulgent without being heavy. It’s the kind of treat that satisfies your sweet tooth without leaving you feeling sluggish. And honestly, isn’t that what fall desserts should be about?
Conclusion
This no-bake pumpkin pie with gingersnap crust is the dessert I turn to every fall, and for good reason. It’s easy enough for a weeknight craving, impressive enough for Thanksgiving, and forgiving enough that even beginner bakers (or non-bakers, really) can nail it on the first try.
I love that this recipe gives you permission to skip the oven without sacrificing any of the flavor or texture that makes pumpkin pie so special. The gingersnap crust adds this warm, spicy crunch that perfectly complements the silky, creamy filling. Every bite tastes like fall in the best possible way.
Whether you’re making this for a holiday gathering, a cozy dinner with friends, or just because you deserve a slice of something wonderful, I hope you love it as much as I do. Feel free to tweak the spices, swap the crust, or pile on as much whipped cream as your heart desires—this pie is meant to be yours.
I’d love to hear how yours turns out! Drop a comment below and let me know what variations you tried, or tag me in your photos if you share them online. Happy fall baking, friends—you’ve got this.
Frequently Asked Questions
Can I use homemade pumpkin puree instead of canned?
Absolutely! Just make sure to strain it well before using. Homemade pumpkin puree tends to have more water content than canned, which can make the filling too loose. Line a strainer with cheesecloth or a clean kitchen towel, add the puree, and let it drain for about an hour before using.
How long does this pie need to set in the refrigerator?
At least 6 hours, but overnight is best. The filling needs time to firm up completely. If you try to slice it too early, you’ll end up with a mess. For best results, make it the day before you plan to serve it.
Can I use a different type of cookie for the crust?
Yes! Graham crackers, vanilla wafers, shortbread cookies, or even chocolate wafer cookies all work well. Each will give the pie a different flavor profile. Graham crackers make it taste more like a classic pumpkin pie, while chocolate wafers add a rich, mocha-like undertone.
Why did my filling turn out runny?
This usually happens for one of three reasons: the cream cheese wasn’t fully softened, the whipped cream wasn’t beaten to stiff peaks, or the pie wasn’t chilled long enough. Make sure your cream cheese is at room temperature, beat your cream until it holds firm peaks, and give the pie at least 6 hours to set in the fridge.
Can I make this pie ahead of time for a holiday dinner?
Yes, and I actually recommend it! This pie tastes even better after a day or two in the fridge. You can make it up to 3 days in advance. Just wait to add the whipped cream topping until right before serving, and keep it covered with plastic wrap in the refrigerator.
Pin This Recipe!
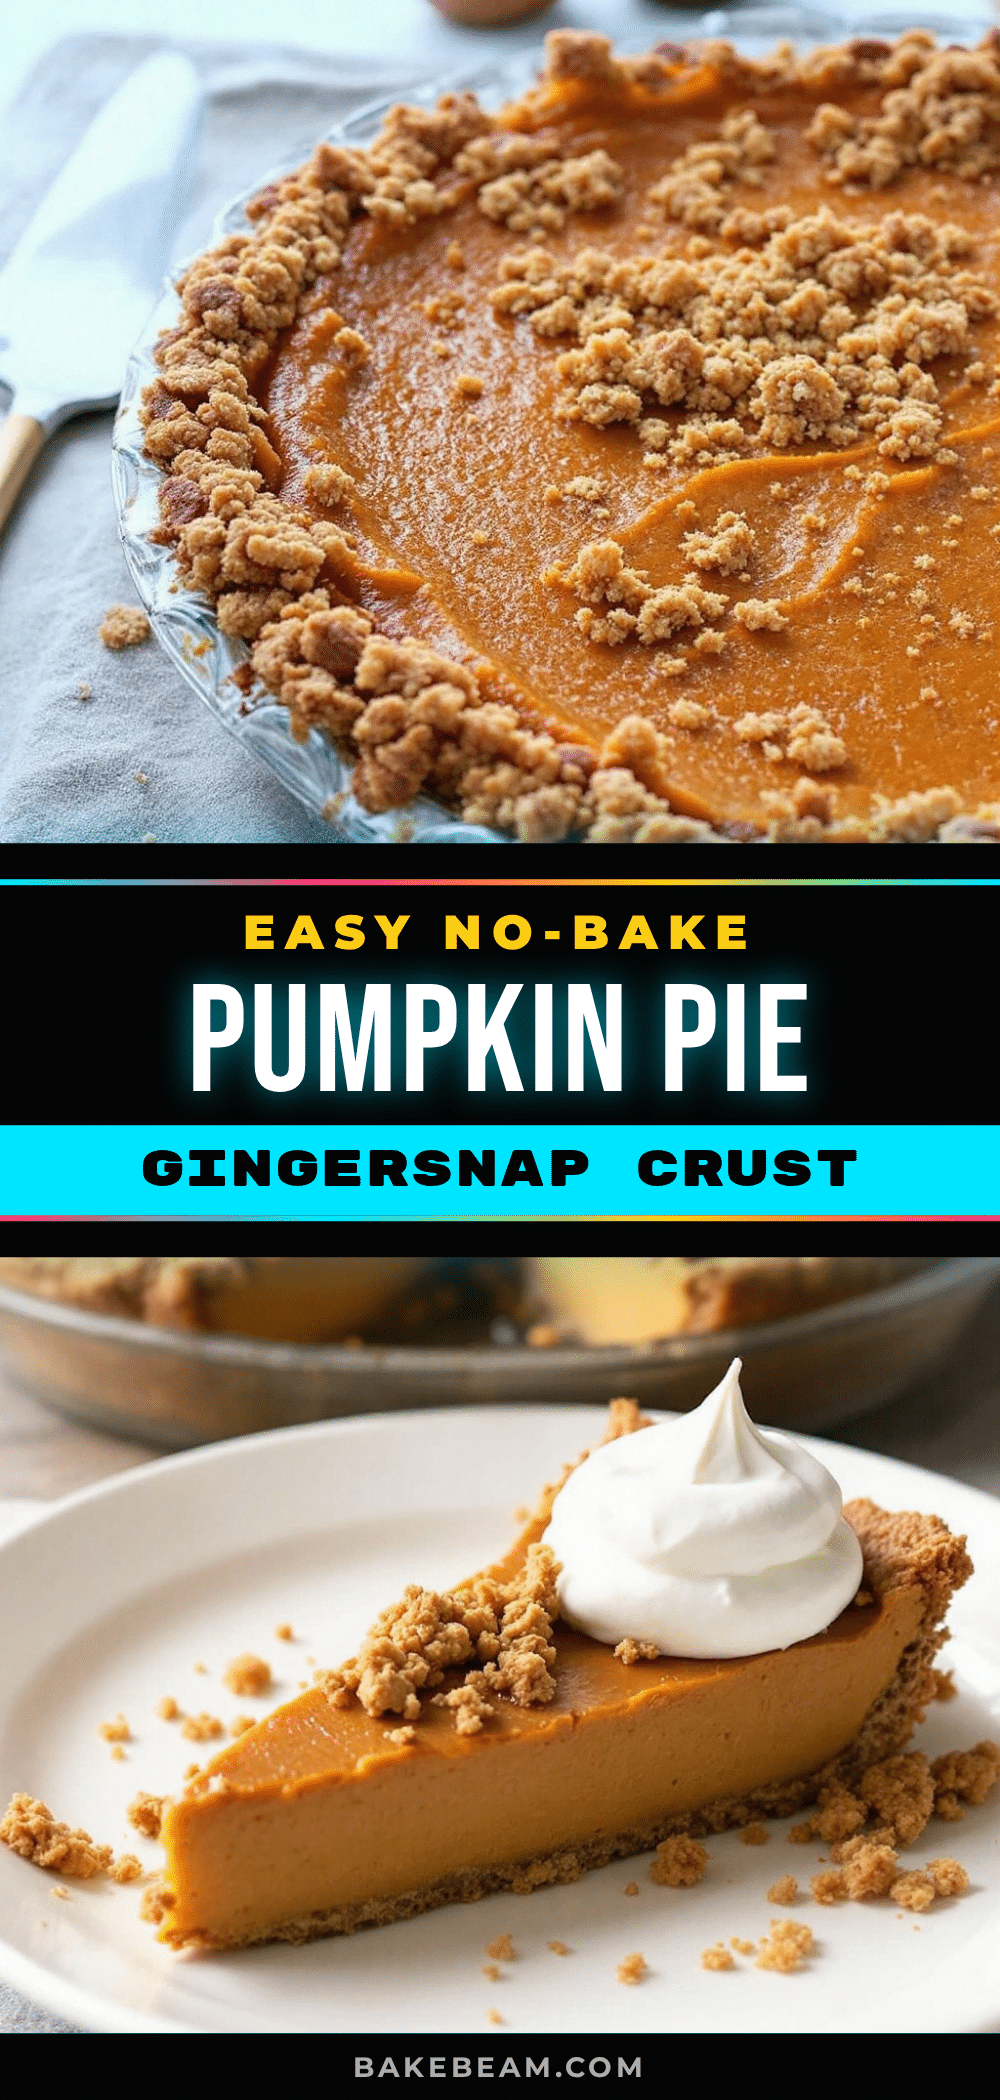
Easy No-Bake Pumpkin Pie with Gingersnap Crust
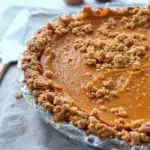
This no-bake pumpkin pie with gingersnap crust is impossibly silky, easy to make, and perfect for holidays. The spicy-sweet ginger crust stays crunchy without baking, and the creamy filling sets perfectly every time.
- Prep Time: 30 minutes
- Cook Time: 0 minutes
- Total Time: 6 hours 30 minutes (includes chilling)
- Yield: 8 servings 1x
- Category: Dessert
- Cuisine: American
Ingredients
- 2 cups gingersnap cookie crumbs (about 8 ounces)
- 6 tablespoons unsalted butter, melted
- 2 tablespoons granulated sugar (optional)
- Pinch of salt (skip if using salted butter)
- 1 ½ cups heavy cream, cold
- 8 ounces cream cheese, softened to room temperature
- 1 cup pumpkin puree (100% pure pumpkin)
- ¾ cup packed light brown sugar
- 1 teaspoon vanilla extract
- 1 ½ teaspoons pumpkin pie spice
- ½ teaspoon ground cinnamon
- Pinch of salt
- 1 cup heavy cream, cold (for topping)
- 2 tablespoons powdered sugar (for topping)
- ½ teaspoon vanilla extract (for topping)
- Crushed gingersnaps or candied pecans for garnish
Instructions
- Make the crust: Crush gingersnaps into fine crumbs. Mix with melted butter, sugar (if using), and salt until it holds together. Press firmly into a 9-inch pie dish. Refrigerate for at least 20 minutes.
- Whip the cream: Beat cold heavy cream until stiff peaks form. Refrigerate.
- Make the pumpkin base: Beat softened cream cheese until smooth. Add pumpkin puree, brown sugar, vanilla, pumpkin pie spice, cinnamon, and salt. Beat until combined.
- Fold together: Gently fold one-third of the whipped cream into the pumpkin mixture. Fold in the remaining cream in two additions until no white streaks remain.
- Assemble: Spoon filling into chilled crust. Smooth the top. Tap gently to settle.
- Chill: Cover and refrigerate for at least 6 hours, preferably overnight.
- Make topping: Before serving, beat cold heavy cream, powdered sugar, and vanilla until soft peaks form. Spread or pipe over pie. Garnish with crushed gingersnaps or candied pecans.
Notes
Cream cheese must be at room temperature to avoid lumps. For best results, chill the pie overnight. The pie can be made up to 3 days in advance. For a dairy-free version, use full-fat coconut cream and dairy-free cream cheese. For gluten-free, use gluten-free gingersnaps or graham crackers.
Nutrition
- Serving Size: 1 slice (1/8 of pie)
- Calories: 400
- Sugar: 22
- Sodium: 280
- Fat: 28
- Saturated Fat: 16
- Carbohydrates: 34
- Fiber: 2
- Protein: 5
Keywords: no-bake pumpkin pie, gingersnap crust, easy pumpkin pie, Thanksgiving dessert, fall dessert, no oven pumpkin pie