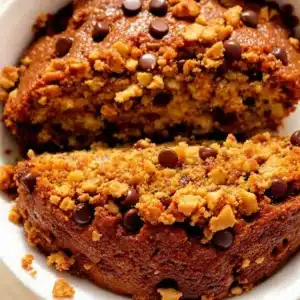
I pulled the focaccia out of the oven and just stood there staring at it. The top was golden and crackled, the pears had caramelized into soft, jammy pockets, and the walnuts were toasted and fragrant. My husband walked in, looked at the pan, and said, “Wait, you made that?” without taking his eyes off it. That moment — the quiet disbelief that something this beautiful came out of my own kitchen — is exactly why I keep coming back to this recipe.
The funny thing is, this Perfect Fresh Pear and Walnut Sourdough Focaccia almost didn’t happen. I had a batch of sourdough discard sitting in the fridge, a couple of pears that were about to turn, and a half-empty bag of walnuts from a salad I made days before. It felt like one of those kitchen sink experiments you try when you’re too lazy to go to the store. But honestly? That’s when the best stuff happens. The pears brought this subtle sweetness that played off the tangy sourdough, and the walnuts added that nutty crunch you can’t plan for. It tasted like something you’d pay too much for at a fancy bakery, except I made it in my pajamas.
What I love most about this recipe is how forgiving it is. Sourdough can feel intimidating, I know. But this focaccia doesn’t care if your starter isn’t super active or if you forgot to feed it yesterday. It works with discard, it works with active starter, and it works even when you’re rushing. The dough is sticky and wet — the way focaccia dough should be — and all you really need is patience and a good drizzle of olive oil. The pears and walnuts do the heavy lifting on flavor, so you don’t have to stress about technique.
This is the kind of bread that makes you look like a hero at brunch, a potluck, or even just a random Tuesday dinner. It’s savory enough to serve alongside soup or salad, but sweet enough that you could eat a slice for breakfast with your coffee. No judgment here. I’ve done it. The combination of tender, airy crumb, sweet roasted fruit, and crunchy nuts is honestly addictive. And the smell? Your whole house will smell like a bakery and a fall festival had a baby. Trust me on this one — you’re going to want to make it again and again.
Why You’ll Love This Recipe
Let me tell you why this focaccia is different from every other bread recipe you’ve seen. I’ve tested this thing six times — yes, six — to get the texture just right. The first batch was too dense. The second had burnt pears. The third was perfect, but I forgot to write down what I did. Classic me. But by batch number six, I had it dialed in, and now I’m sharing every trick I learned so you don’t have to go through the same trial and error.
- Quick & Easy: This comes together in about 3 hours total, but most of that is hands-off rising time. You’re really only working for about 20 minutes. Perfect for a lazy Sunday afternoon or a weekday baking project.
- Simple Ingredients: No fancy grocery trips required. Flour, water, salt, olive oil, sourdough discard, pears, and walnuts. That’s it. You probably have most of this in your kitchen right now.
- Perfect for Fall Gatherings: This focaccia is a showstopper at Thanksgiving, Friendsgiving, or any cozy dinner party. It pairs beautifully with soups, salads, and cheese boards.
- Crowd-Pleaser: I’ve served this to kids, adults, picky eaters, and even my friend who “doesn’t like fruit in bread.” Every single person went back for seconds. It’s that good.
- Unbelievably Delicious: The contrast between the tangy sourdough, sweet roasted pears, and crunchy walnuts is pure magic. The texture is soft and airy on the inside, with a crispy, golden crust on the outside.
What makes this version different from other pear and walnut focaccia recipes you might find? It’s the sourdough. Most recipes use commercial yeast, but sourdough adds a subtle tang that balances the sweetness of the pears perfectly. Plus, using discard means you’re not wasting anything — and that feels good. I’ve also perfected the hydration level (it’s a wet dough, trust the process) and the timing for adding the toppings so they don’t burn or sink into the dough. This isn’t just another focaccia. It’s the one you’ll bookmark and make on repeat.
There’s something about pulling this bread out of the oven that feels deeply satisfying. Maybe it’s the way the pears look like little jewels scattered across the golden surface. Maybe it’s the smell of toasted walnuts and olive oil filling your kitchen. Or maybe it’s knowing you turned a few simple ingredients into something that feels special. This recipe isn’t just good — it’s the kind that makes you close your eyes after the first bite. It’s comfort food reimagined, with a rustic elegance that makes any meal feel like an occasion.
What Ingredients You Will Need
This recipe uses simple, wholesome ingredients that come together to create something truly special. Most of these are pantry staples, and the fresh produce is easy to find at any grocery store. Here’s everything you need and why each ingredient matters.
For the Dough
- All-purpose flour — 3 cups (375g). I prefer King Arthur Flour for consistent results, but any brand works. Bread flour also works if you want a chewier texture.
- Sourdough discard — 1 cup (240g), unfed. This is the star of the show. It adds tangy flavor and helps with the texture. Use it straight from the fridge — no need to feed it first.
- Warm water — 1 cup (240ml), about 90°F. Not too hot or you’ll kill the natural yeast. Think bathwater temperature.
- Olive oil — ¼ cup (60ml), plus extra for drizzling. Use a good quality extra virgin olive oil here — it adds flavor to the dough and helps create that crispy crust.
- Salt — 1½ teaspoons (9g). I use fine sea salt. Don’t skip this — it’s crucial for flavor and structure.
- Honey — 1 tablespoon (15ml). Just a touch of sweetness to complement the pears and balance the sourdough tang.
For the Toppings
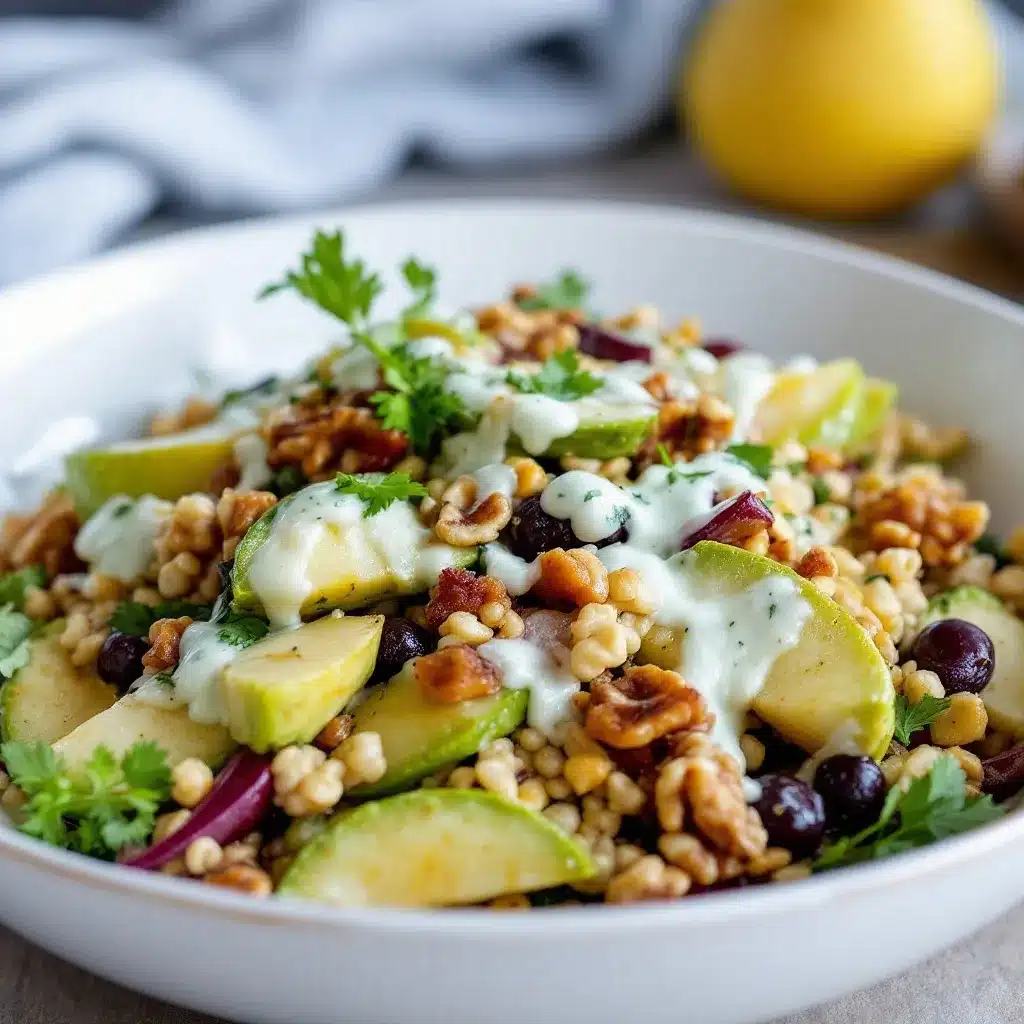
- Fresh pears — 2 medium, thinly sliced. I recommend Bosc or Anjou pears because they hold their shape well during baking. They’re firm enough to slice thin without falling apart, and they caramelize beautifully.
- Walnuts — ½ cup (60g), roughly chopped. Toast them lightly before using for extra flavor. I buy raw walnuts and toast them myself — it makes a huge difference.
- Fresh rosemary — 2 sprigs, leaves removed and roughly chopped. Optional but highly recommended. The earthy rosemary pairs beautifully with the pears and walnuts.
- Flaky sea salt — for sprinkling on top. Maldon is my go-to. That final crunch of salt on top is non-negotiable.
- Honey — extra for drizzling after baking. Just a light drizzle adds a gorgeous finish.
Ingredient Selection Tips: When choosing pears, look for ones that are ripe but still firm. You don’t want mushy pears that will turn into jam in the oven. The pears should yield slightly when you press near the stem but still hold their shape. For the walnuts, I always buy raw and toast them myself. Pre-toasted walnuts can be stale or unevenly roasted. Just spread them on a baking sheet at 350°F for 5-7 minutes until fragrant — it’s worth the extra step.
Substitution Guidance: If you don’t have sourdough discard, you can use ½ teaspoon of active dry yeast mixed with the warm water and flour. Let it sit for 10 minutes before mixing. For a gluten-free option, use a 1:1 gluten-free flour blend, but note that the texture will be denser. You can swap walnuts for pecans or almonds if you prefer. And if pears aren’t in season, thinly sliced apples work beautifully too — just use a firmer variety like Honeycrisp or Granny Smith.
Equipment Needed
You don’t need a lot of fancy equipment to make this focaccia. Here’s what you’ll need and a few honest thoughts on each tool.
- Large mixing bowl — Any bowl works, but I prefer a wide ceramic or glass bowl. It makes mixing and folding the dough easier. Avoid metal bowls if you can — they conduct heat and can make the dough rise unevenly.
- 9×13-inch baking pan — This is the perfect size for this recipe. A metal pan gives you a crisper bottom crust, while glass or ceramic works fine too. If you only have a smaller pan, the dough will be thicker and need a few extra minutes of baking time.
- Bench scraper — Not essential but super helpful for handling the sticky dough. A plastic dough scraper is cheap and makes cleanup so much easier. I’ve used a spatula in a pinch, but the scraper is better.
- Kitchen scale — I highly recommend weighing your ingredients for consistent results. Flour can vary wildly by how you scoop it, and sourdough baking is more forgiving when you use weight measurements. A $15 digital scale will change your baking life.
- Plastic wrap or a damp kitchen towel — For covering the dough while it rises. I prefer a damp towel because it’s reusable and doesn’t create waste, but plastic wrap works great too.
- Sharp knife or mandoline — For slicing the pears thinly and evenly. A mandoline gives you consistent slices, but a sharp knife works perfectly fine. Just be careful — pear slices should be about ⅛-inch thick.
Budget-Friendly Options: Don’t have a bench scraper? Use a silicone spatula. No kitchen scale? Use the spoon-and-level method for flour — spoon it into your measuring cup and level it off with a knife. It’s not as precise, but it works. And if you don’t have a 9×13 pan, a cast iron skillet works beautifully — just adjust the baking time slightly.
Preparation Method
Alright, let’s get to the fun part. I’m going to walk you through every step, including what to look for and what to avoid. I’ve made every mistake possible with this recipe, so you don’t have to.
Step 1: Mix the Dough
In a large mixing bowl, combine 3 cups (375g) all-purpose flour, 1 cup (240g) sourdough discard, 1 cup (240ml) warm water, ¼ cup (60ml) olive oil, 1½ teaspoons (9g) salt, and 1 tablespoon (15ml) honey. Mix with a wooden spoon or your hands until a shaggy, sticky dough forms. It will look rough and uneven — that’s exactly what you want. Don’t overmix at this stage. Just get everything combined, cover the bowl with plastic wrap or a damp towel, and let it rest for 30 minutes. This rest period, called autolyse, lets the flour absorb the water and makes the dough easier to work with later.
Step 2: Stretch and Fold
After the rest, it’s time for the stretch and folds. This is what builds strength in the dough without kneading. Wet your hands slightly to prevent sticking. Grab one side of the dough, stretch it up as high as it will go without tearing, and fold it over the center. Rotate the bowl 90 degrees and repeat. Do this four times total — once for each side of the dough. Cover the bowl again and let it rest for 30 minutes. Repeat this stretch and fold process three more times, with 30-minute rests in between. So you’ll do four sets of stretch and folds total, over about 2 hours. The dough will become smoother and more elastic with each fold. Don’t skip this step — it’s what gives focaccia its light, airy texture.
Step 3: Bulk Fermentation
After the last stretch and fold, cover the bowl and let the dough rise at room temperature for 1-2 hours, or until it has doubled in size. The time depends on how active your sourdough discard is and the temperature of your kitchen. On a warm day, it might only take 1 hour. On a cooler day, it could take 2. Look for the dough to be puffy, bubbly, and jiggly when you gently shake the bowl. If you’re not sure, give it another 30 minutes — underproofed dough is denser and less flavorful.
Step 4: Prepare the Pan
While the dough is rising, generously drizzle olive oil into your 9×13-inch baking pan. Use about 2 tablespoons — don’t skimp. The oil helps create that crispy, golden bottom crust. Use your fingers to spread the oil all over the bottom and up the sides of the pan. Set the pan aside.
Step 5: Shape the Dough
Once the dough has doubled, gently turn it out into the oiled pan. Don’t punch it down or deflate it too much — you want to keep those air bubbles. Let the dough rest in the pan for 10 minutes. Then, using oiled fingertips, gently press the dough out to fill the pan. It might resist at first, and that’s okay. Work from the center outward, being careful not to tear the dough. If it springs back, let it rest another 10 minutes and try again. The dough should be evenly spread across the pan, about ½ to ¾ inch thick.
Step 6: Second Rise
Cover the pan with plastic wrap or a damp towel and let the dough rise again for 1-2 hours, until it’s puffy and almost doubled in height. This second rise is crucial for that light, airy crumb. The dough should look pillowy and feel soft when you gently poke it. If you press your finger into the dough, the indent should slowly spring back.
Step 7: Prep the Toppings
While the dough is doing its second rise, prepare your toppings. Thinly slice 2 pears — aim for slices about ⅛-inch thick. If they’re too thick, they won’t soften properly in the oven. Too thin, and they’ll burn. Roughly chop ½ cup walnuts and toast them in a dry skillet over medium heat for 3-4 minutes, stirring frequently, until fragrant. Set aside. Strip the leaves from 2 sprigs of fresh rosemary and roughly chop them.
Step 8: Dimple and Top
Preheat your oven to 425°F (220°C). Once the dough has finished its second rise, drizzle another tablespoon of olive oil over the top. Now for the fun part — dimpling. Use your fingertips to press deep dimples all over the surface of the dough. Don’t be shy. Go all the way down to the bottom of the pan. These dimples hold the oil and create those iconic focaccia pockets. Arrange the pear slices on top of the dough, pressing them in gently. Sprinkle the toasted walnuts and fresh rosemary evenly over the top. Finish with a generous sprinkle of flaky sea salt.
Step 9: Bake
Place the pan in the preheated oven and bake for 25-30 minutes, until the top is deep golden brown and the edges are crispy. Rotate the pan halfway through for even browning. The pears should be caramelized and soft, and the walnuts should be toasted. If the top is browning too quickly but the bottom isn’t done, tent the pan loosely with foil for the last 5-10 minutes of baking.
Step 10: Finish and Cool
Remove the focaccia from the oven and let it cool in the pan for 5 minutes. Then transfer it to a wire rack. While it’s still warm, drizzle a little honey over the top — this adds a beautiful glossy finish and a touch of sweetness. Let it cool for at least 15 minutes before slicing. I know it’s tempting to dive right in, but the texture sets as it cools. Trust me, the wait is worth it.
Cooking Tips & Techniques
I’ve made this focaccia more times than I can count, and I’ve learned a few things along the way. Here are my best tips to help you nail it every time.
Don’t skip the stretch and folds. I know it seems tedious, but this step is what gives focaccia its signature airy texture. Without it, the dough will be dense and flat. Set a timer for each 30-minute interval and make it part of your routine. I usually do dishes or prep other ingredients between folds.
Use room temperature ingredients. Cold ingredients slow down fermentation and can make the dough harder to work with. Let your sourdough discard sit out for 30 minutes before using, and make sure your water is warm — not hot, not cold. About 90°F is perfect.
Be generous with the olive oil. Focaccia is an oily bread by nature, and that’s what makes it so good. Don’t be afraid to use a heavy hand with the oil in the pan and on top. It creates that crispy, golden crust and prevents sticking. I use about ¼ cup total for the whole recipe.
Toast your walnuts. This is a small step that makes a huge difference. Raw walnuts are fine, but toasting them brings out their natural oils and deepens their flavor. Just 5 minutes in a dry skillet or oven, and you’ll taste the difference. Watch them carefully — they burn quickly.
Slice pears evenly. Uneven slices mean some will be undercooked while others burn. Use a sharp knife or mandoline to get consistent ⅛-inch slices. If your pears are very ripe, handle them gently so they don’t fall apart.
One mistake I made early on: I added the pears and walnuts before the second rise, and they sank into the dough and got lost. Always add toppings after the second rise, right before baking. Press them in gently so they stay on top but don’t disappear.
Timing strategy: Start the dough in the morning, and it’ll be ready for lunch. Or start it after dinner, do the stretch and folds while you watch TV, and bake it the next morning after an overnight cold ferment in the fridge. The cold ferment actually develops more flavor.
Variations & Adaptations
One of the best things about this focaccia is how customizable it is. Here are some variations I’ve tried and loved.
Savory Herb Version: Skip the pears and honey, and double the rosemary. Add ¼ cup of grated Parmesan cheese and 2 tablespoons of fresh thyme leaves. Top with caramelized onions and toasted walnuts for a savory twist that’s perfect alongside soup or salad. I made this for a friend’s dinner party, and it disappeared in minutes.
Apple and Pecan Variation: Swap the pears for thinly sliced Honeycrisp or Granny Smith apples, and use pecans instead of walnuts. Add a sprinkle of cinnamon and brown sugar before baking for a sweeter, more dessert-like focaccia. This version is amazing with a cup of coffee or tea.
Dairy-Free and Vegan: This recipe is already dairy-free and vegan as written — no changes needed. Just make sure your sourdough discard doesn’t contain any dairy (some people feed their starters with milk, but most use flour and water). The olive oil and honey are plant-based, so you’re good to go.
Gluten-Free Option: Use a 1:1 gluten-free flour blend that contains xanthan gum. The dough will be stickier and harder to work with, so wet your hands generously. The texture will be denser and less airy, but it’s still delicious. I’ve tested this with Bob’s Red Mill 1:1 Baking Flour, and it worked surprisingly well.
Seasonal Fruit Swap: In summer, try thinly sliced peaches or nectarines instead of pears. In winter, use firm persimmons or dried figs. Each fruit brings its own unique sweetness and texture. Just make sure the fruit is ripe but firm so it holds its shape during baking.
Spiced Version: Add 1 teaspoon of cinnamon and ½ teaspoon of nutmeg to the flour mixture before mixing the dough. The warm spices complement the pears and walnuts beautifully. This version feels especially cozy in the fall and winter months.
Serving & Storage Suggestions
This focaccia is incredibly versatile — you can serve it in so many different ways. Here’s how I like to enjoy it.
Serving Temperature: Focaccia is best served warm or at room temperature. If you’re serving it at a gathering, let it cool completely after baking, then reheat it in a 350°F oven for 5-10 minutes before serving. This brings back the crispy crust and soft interior. Microwaving will make it soggy — don’t do it.
Presentation Ideas: Cut the focaccia into squares or rectangles and arrange them on a wooden board. Drizzle with a little extra honey and sprinkle with fresh rosemary for a gorgeous presentation. It looks beautiful on a charcuterie board alongside cheese, olives, and cured meats. I also love serving it with a bowl of warm marinara sauce for dipping.
Complementary Dishes: This focaccia pairs beautifully with soups like hearty quinoa and kale power bowls or a simple tomato basil soup. It’s also fantastic alongside a fresh green salad with lemon vinaigrette. For a heartier meal, serve it with crispy lemon rosemary salmon or roasted chicken. The sweet and savory flavors complement so many main dishes.
Beverage Pairings: A crisp white wine like Sauvignon Blanc or Pinot Grigio pairs wonderfully with the fruity and nutty flavors. For non-alcoholic options, try a sparkling water with lemon or a cup of herbal tea. In the fall, a warm apple cider is absolutely perfect.
Storage Instructions: Store leftover focaccia in an airtight container at room temperature for up to 3 days. Do not refrigerate — it will dry out and become stale. If you need to store it longer, freeze it. Wrap individual pieces tightly in plastic wrap, then place them in a freezer-safe bag. They’ll keep for up to 3 months.
Reheating Methods: To reheat, place the focaccia on a baking sheet in a 350°F oven for 5-7 minutes. For a single piece, a toaster oven works great. The oven method restores the crispy crust and soft interior. Avoid the microwave at all costs — it turns the bread into a sad, chewy mess.
How Flavors Develop: The flavors actually deepen and meld together after a day or two. The pears continue to soften and release their sweetness, and the walnuts infuse the bread with their nutty flavor. I honestly think day-old focaccia is even better than fresh. If you can resist eating it all on day one, you’re in for a treat.
Nutritional Information & Benefits
While this focaccia is definitely a treat, it also offers some surprising nutritional benefits thanks to its wholesome ingredients. Here’s a breakdown of what you’re getting in each serving.
Estimated Nutritional Values (per slice, based on 12 slices):
| Nutrient | Amount |
|---|---|
| Calories | 220 |
| Total Fat | 10g |
| Saturated Fat | 1.5g |
| Carbohydrates | 28g |
| Fiber | 3g |
| Sugar | 6g |
| Protein | 5g |
| Sodium | 300mg |
Health Benefits of Key Ingredients: Pears are an excellent source of dietary fiber and vitamin C. They also contain antioxidants that support heart health and digestion. Walnuts are packed with omega-3 fatty acids, which are great for brain health and reducing inflammation. Olive oil is rich in healthy monounsaturated fats and antioxidants. And sourdough fermentation actually makes the nutrients in the flour more bioavailable, meaning your body can absorb them more easily.
Dietary Considerations: This recipe is naturally dairy-free, egg-free, and vegan. It contains gluten and nuts (walnuts). If you need a nut-free version, simply omit the walnuts or substitute with pumpkin seeds for a similar crunch. The honey can be swapped with maple syrup for a fully vegan option.
My Personal Wellness Perspective: I believe in balance. This focaccia isn’t health food, but it’s made with real, whole ingredients that nourish your body and soul. There’s something deeply satisfying about eating bread you made with your own hands, with fruit and nuts that add nutritional value. Enjoy it as part of a balanced diet, and don’t feel guilty about going back for a second slice. Life’s too short for bad bread.
Conclusion
This Perfect Fresh Pear and Walnut Sourdough Focaccia has become a staple in my kitchen for good reason. It’s forgiving enough for beginners, impressive enough for guests, and delicious enough to make any day feel special. The combination of tangy sourdough, sweet roasted pears, and crunchy walnuts is honestly unforgettable. Every time I make it, someone asks for the recipe. And now you have it.
I want you to make this your own. Experiment with different fruits, try different nuts, play with the herbs and spices. That’s the beauty of focaccia — it’s a blank canvas that rewards creativity. If you try a variation I haven’t mentioned, I’d love to hear about it. Drop a comment below and tell me how it turned out. Your twist might just inspire someone else.
If you enjoyed this recipe, you might also love my creamy make-ahead vegan chocolate avocado pudding for a healthy dessert option, or my easy Mediterranean chickpea and feta stuffed mini peppers for another crowd-pleasing appetizer. Don’t forget to pin this recipe for later, share it with a friend who loves baking, and tag me when you make it — I love seeing your creations!
Happy baking, friend. Your kitchen is about to smell amazing.
Frequently Asked Questions
Can I use active sourdough starter instead of discard?
Absolutely! Active starter will work just fine. The focaccia might rise a bit faster and have a slightly milder tang, but it will still be delicious. If using active starter, you can reduce the rising time slightly — just keep an eye on the dough and look for it to double in size.
Can I make this focaccia without a stand mixer?
Yes, and honestly, I prefer making it by hand. The stretch and fold method I describe in the recipe replaces kneading entirely. You don’t need any special equipment — just a bowl, your hands, and a little patience. The hand-mixed version actually has a better texture in my opinion.
Why is my focaccia dense and not airy?
Dense focaccia usually means one of three things: the dough was underproofed (didn’t rise long enough), overproofed (rose too long and collapsed), or the flour was overworked. Make sure you’re giving the dough enough time to double during both rises, and don’t skip the stretch and folds. Also, check that your sourdough discard is at least somewhat active — if it’s been sitting in the fridge for weeks without feeding, it might need a refresh.
Can I use a different type of pear?
Yes, but stick with firmer varieties like Bosc, Anjou, or Bartlett. Avoid very soft pears like Comice or Seckel, which will turn to mush in the oven. The pears should be ripe but still hold their shape when sliced. If your pears are on the softer side, slice them a little thicker so they don’t disintegrate during baking.
How do I store leftover focaccia and keep it fresh?
Store it in an airtight container at room temperature for up to 3 days. Do not refrigerate — it will dry out and become stale. For longer storage, wrap individual slices tightly in plastic wrap and freeze for up to 3 months. Reheat frozen slices directly in a 350°F oven for 7-10 minutes, or in a toaster oven for 3-5 minutes. The texture comes back beautifully.
Pin This Recipe!
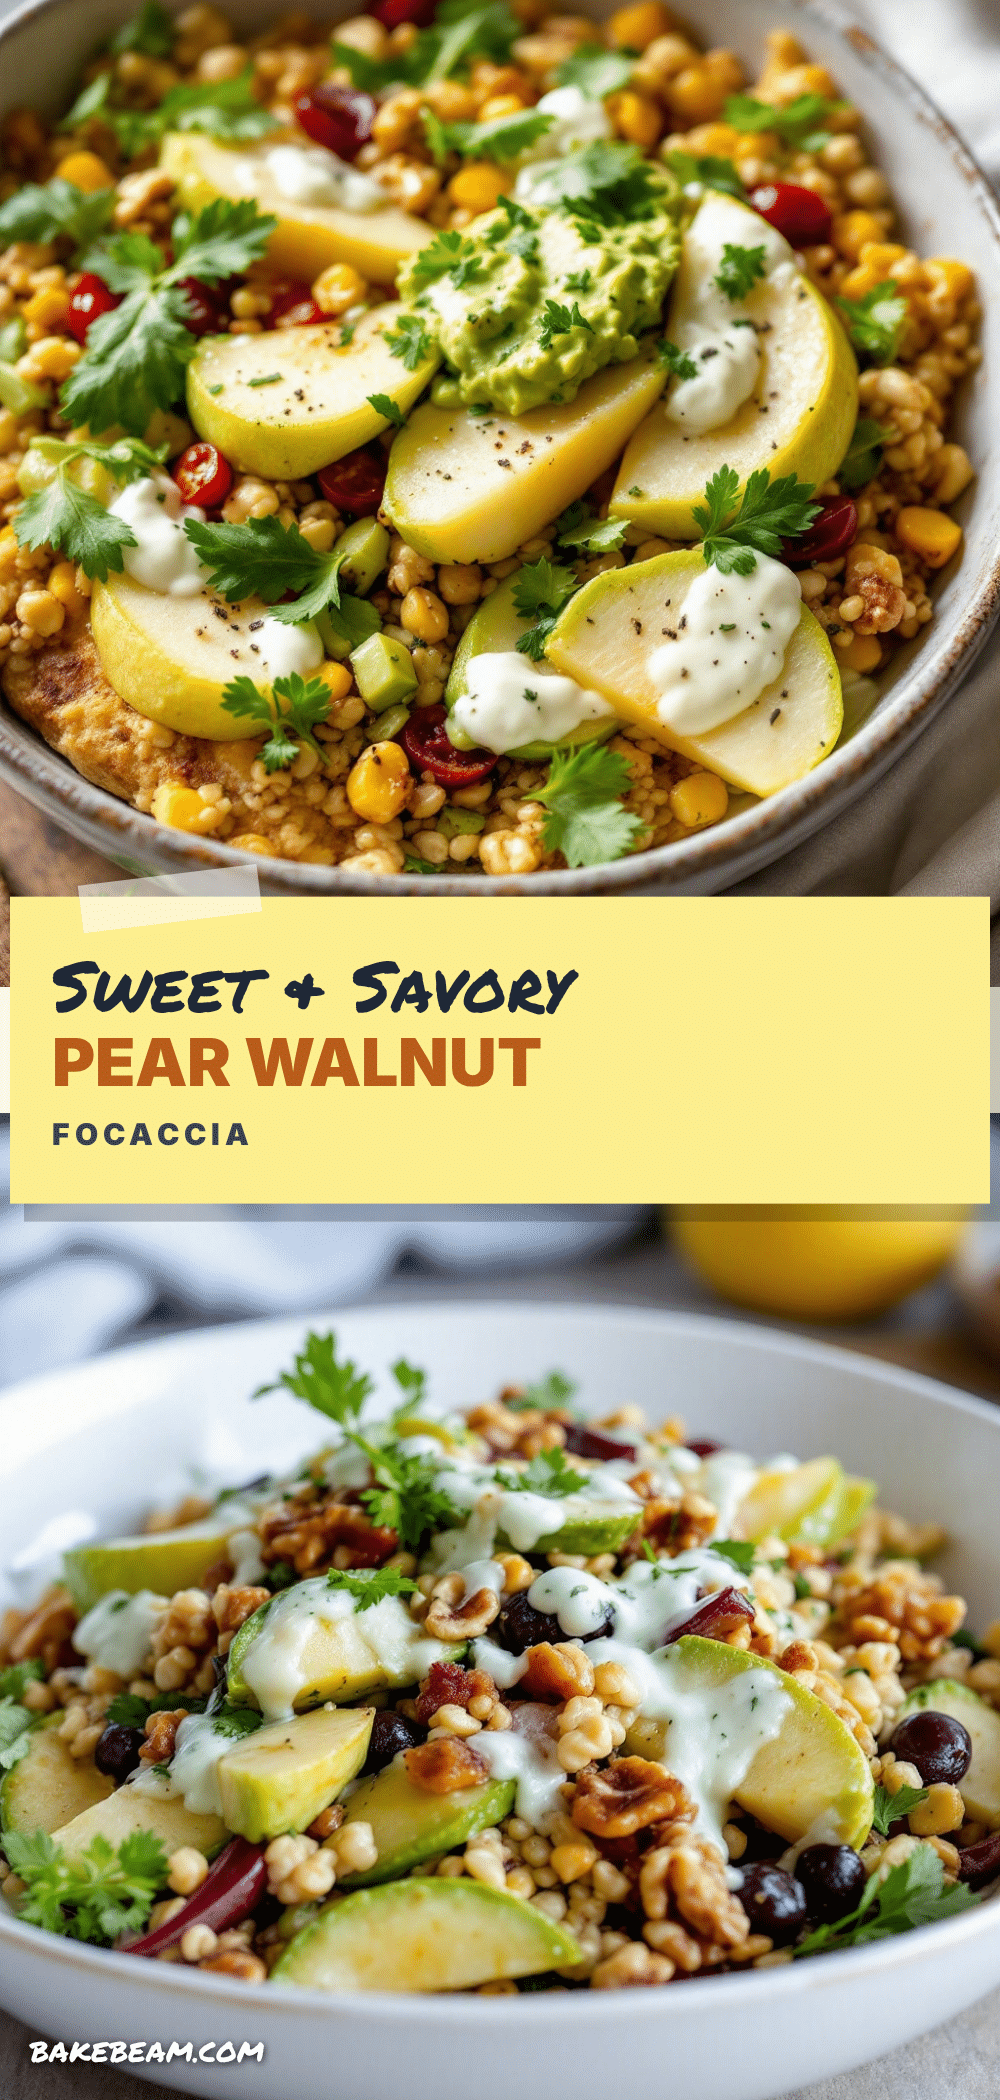
Perfect Fresh Pear and Walnut Sourdough Focaccia: Easy Homemade Recipe

This easy homemade sourdough focaccia is topped with sweet roasted pears, crunchy walnuts, and fresh rosemary. It’s a forgiving, crowd-pleasing bread that’s perfect for fall gatherings, brunch, or any cozy meal.
- Prep Time: 20 minutes
- Cook Time: 30 minutes
- Total Time: 3 hours (including rising time)
- Yield: 12 servings 1x
- Category: Bread
- Cuisine: American
Ingredients
- 3 cups (375g) all-purpose flour
- 1 cup (240g) sourdough discard, unfed
- 1 cup (240ml) warm water (about 90°F)
- ¼ cup (60ml) olive oil, plus extra for drizzling
- 1½ teaspoons (9g) fine sea salt
- 1 tablespoon (15ml) honey
- 2 medium fresh pears (Bosc or Anjou), thinly sliced
- ½ cup (60g) walnuts, roughly chopped and toasted
- 2 sprigs fresh rosemary, leaves removed and roughly chopped
- Flaky sea salt (e.g., Maldon), for sprinkling
- Extra honey, for drizzling after baking
Instructions
- Mix the Dough: In a large mixing bowl, combine flour, sourdough discard, warm water, olive oil, salt, and honey. Mix until a shaggy, sticky dough forms. Cover and let rest for 30 minutes.
- Stretch and Fold: Wet your hands. Stretch one side of the dough up and fold it over the center. Rotate the bowl 90° and repeat. Do four folds total. Cover and rest 30 minutes. Repeat this stretch and fold process three more times (four sets total) with 30-minute rests in between.
- Bulk Fermentation: Cover the bowl and let the dough rise at room temperature for 1-2 hours, until doubled in size, puffy, and jiggly.
- Prepare the Pan: Generously drizzle about 2 tablespoons olive oil into a 9×13-inch baking pan. Spread to coat bottom and sides.
- Shape the Dough: Gently turn the dough into the oiled pan. Let rest 10 minutes. Using oiled fingertips, gently press the dough to fill the pan evenly (about ½ to ¾ inch thick). If it springs back, rest another 10 minutes and try again.
- Second Rise: Cover the pan and let the dough rise for 1-2 hours, until puffy and almost doubled in height.
- Prep Toppings: Thinly slice pears (⅛-inch thick). Toast walnuts in a dry skillet over medium heat for 3-4 minutes until fragrant. Chop rosemary.
- Dimple and Top: Preheat oven to 425°F (220°C). Drizzle 1 tablespoon olive oil over the dough. Use fingertips to press deep dimples all over the surface. Arrange pear slices on top, pressing gently. Sprinkle with walnuts, rosemary, and flaky sea salt.
- Bake: Bake for 25-30 minutes, rotating halfway, until deep golden brown and edges are crispy. If browning too quickly, tent with foil for last 5-10 minutes.
- Finish and Cool: Remove from oven and cool in pan for 5 minutes. Transfer to a wire rack. While still warm, drizzle with honey. Cool at least 15 minutes before slicing.
Notes
Use ripe but firm pears (Bosc or Anjou). Toast walnuts for best flavor. Don’t skip the stretch and folds—they create the airy texture. Add toppings after the second rise to prevent sinking. For a cold ferment, refrigerate after shaping and bake the next morning.
Nutrition
- Serving Size: 1 slice
- Calories: 220
- Sugar: 6
- Sodium: 300
- Fat: 10
- Saturated Fat: 1.5
- Carbohydrates: 28
- Fiber: 3
- Protein: 5
Keywords: sourdough focaccia, pear walnut focaccia, easy focaccia recipe, sourdough discard recipe, fall bread, homemade focaccia