You know that moment at a campsite when the fire has died down to embers, and everyone is staring at the half-empty bag of marshmallows, wondering if it’s worth the effort to roast another one? I had been looking for a dessert that actually captured the magic of a campfire s’more without the logistics of balancing a graham cracker on a stick while smoke gets in your eyes. For a while, I just accepted that indoor s’mores were always going to taste a little flat—like a sad imitation of the real thing.
Then, on a chilly autumn evening when the grill was already hot from dinner, I threw a cast iron skillet on the grates. I layered in some chocolate bars, piled on the marshmallows, and just let it happen. Honestly, I wasn’t expecting much. But when the chocolate turned molten and the marshmallows puffed up into golden clouds, I knew something good was happening. The first dip of a graham cracker into that gooey mess was one of those quiet, satisfying moments you don’t forget. It tasted like the best parts of camping—minus the bug spray.
This easy gooey s’mores dip in a cast iron skillet became the thing I reach for whenever I want that campfire feeling without building an actual fire. It’s simple, it’s forgiving, and it somehow tastes exactly right every single time. Once you try it, you’ll probably start keeping chocolate bars in the pantry just in case. I know I do.
Why You’ll Love This Recipe
Let’s be real for a second. There are a hundred ways to make a s’mores dip online, and some of them are just… okay. This one is different. I tested this recipe about six times before I got the ratios right. The chocolate needs to be thick enough to hold up to a heavy scoop, but the marshmallows need to get that blistered, almost-burnt edge that makes the whole thing taste like a campfire. It’s a fine line, and this version nails it.
- Quick & Easy: You are looking at about 10 minutes from start to finish. No joke. Perfect for when a craving hits hard at 9 PM.
- Simple Ingredients: Three main ingredients. That’s it. Chocolate, marshmallows, graham crackers. You probably have all of them right now.
- Perfect for Game Day or Gatherings: This dip is a crowd magnet. I brought it to a football watch party last fall, and it was gone before the first quarter ended. It pairs perfectly with other shareable snacks like creamy buffalo chicken ranch dip for a full spread.
- Crowd-Pleaser: Kids love it. Adults love it. People who claim they don’t have a sweet tooth love it. It’s basically a universal language.
- Unbelievably Delicious: The texture is what gets you. That pull of melted chocolate stretching from the skillet to the cracker—it’s pure comfort food magic.
What makes this recipe different from the rest? It’s the technique. Most recipes just throw everything in the oven and hope for the best. This one uses a specific layering method and a quick broil at the end to get that campfire char on the marshmallows. It’s not just another version—it’s the best version I’ve found after years of trial and error.
This dip isn’t just good. It’s the kind of dessert that makes people close their eyes after the first bite. It’s comfort food reimagined for a skillet—faster, easier, but with the same soul-soothing satisfaction as the real campfire experience.
What Ingredients You Will Need
This recipe uses simple, everyday ingredients to deliver that classic s’mores flavor with minimal fuss. You don’t need anything fancy—just the good stuff you probably already keep in your kitchen.
- Chocolate bars (7–8 ounces total): I prefer Hershey’s milk chocolate bars for that nostalgic taste, but you can use any good-quality chocolate. Break them into squares so they melt evenly. Dark chocolate works beautifully if you want a less sweet dip.
- Marshmallows (about 2 cups): Regular-sized marshmallows work best here. Don’t use mini marshmallows—they melt too fast and turn into a sugary puddle. I like Jet-Puffed for their structure. If you can find the jumbo campfire marshmallows, those are amazing for a dramatic presentation.
- Graham crackers (for serving): Honey graham crackers are the classic choice. You can also use chocolate graham crackers or cinnamon graham crackers for a twist. Break them into pieces for dipping.
- Optional add-ins: A pinch of flaky sea salt on top before serving really brings out the chocolate flavor. You can also add a layer of peanut butter or Nutella under the chocolate for extra richness.
- Butter (1 teaspoon): Just a tiny bit to grease the skillet. It prevents sticking and adds a subtle richness to the chocolate.
I recommend using a good-quality chocolate bar for this. I’ve tried it with cheaper chocolate chips, and they just don’t melt as smoothly. The bar chocolate has a better mouthfeel and doesn’t seize up under the heat. For the marshmallows, look for ones that are fresh and soft—stale marshmallows won’t puff up as nicely under the broiler.
Equipment Needed
You don’t need much for this recipe, which is part of its charm. Here’s what you’ll need:
- Cast iron skillet (8-inch or 10-inch): This is the star of the show. A cast iron skillet holds heat beautifully and gives you that perfect even melt. If you don’t have one, you can use a small oven-safe baking dish or a pie plate, but the skillet really does make a difference in heat distribution.
- Oven or grill: Either works. The oven is more predictable, but the grill adds a subtle smoky flavor that’s incredible.
- Spatula or spoon: For spreading the chocolate and serving.
- Hot pads or oven mitts: That skillet gets dangerously hot. Trust me on this one.
If you’re using a cast iron skillet for the first time, don’t stress about seasoning it perfectly. Just give it a light coat of butter and you’re good to go. I’ve used my trusty Lodge skillet for years, and it only gets better with age. Budget-friendly tip: you can find decent cast iron skillets at thrift stores for next to nothing, and they clean up beautifully with a little elbow grease.
Preparation Method
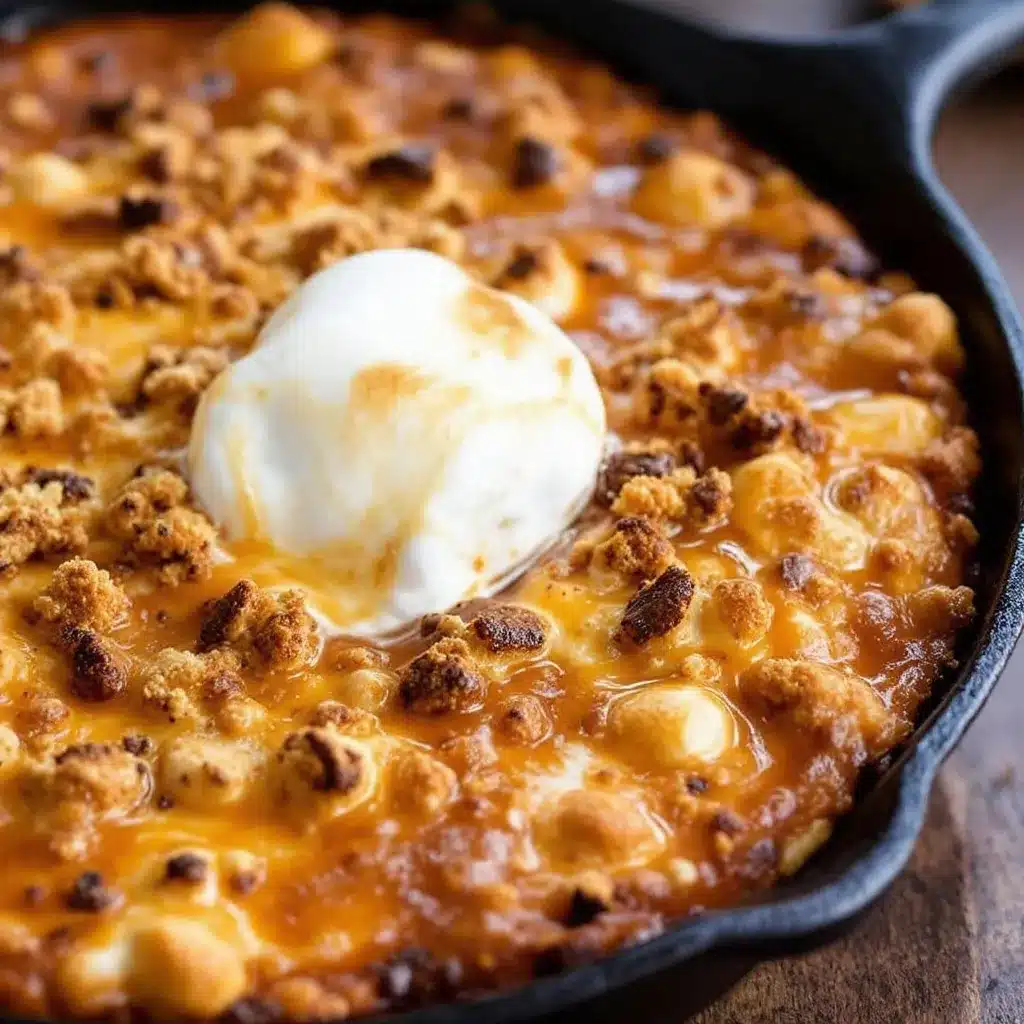
This is where the magic happens. Follow these steps, and you’ll have a gooey, irresistible s’mores dip in about 10 minutes flat.
- Preheat your oven to 350°F (175°C). If you’re using a grill, get it to medium heat. You want a steady, moderate heat to melt the chocolate without burning the marshmallows.
- Grease your skillet lightly. Rub about 1 teaspoon of butter all over the bottom and sides of your cast iron skillet. This prevents sticking and adds a subtle richness. Don’t skip this step—I learned the hard way that ungreased skillets make for a messy cleanup.
- Layer the chocolate. Break your chocolate bars into pieces and arrange them evenly across the bottom of the skillet. You want a single, even layer that covers the surface. Don’t pile it up too thick in the middle, or it won’t melt evenly. Aim for about 7–8 ounces of chocolate total.
- Add the marshmallows. Place your marshmallows on top of the chocolate in a single layer. You can arrange them in a neat grid or just scatter them—it doesn’t matter much. Just make sure they’re touching each other slightly so they puff up together. Leave a little space around the edges for the chocolate to peek through.
- Bake for 8–10 minutes. Place the skillet in the preheated oven and bake until the chocolate is mostly melted and the marshmallows have puffed up and started to brown on top. This usually takes about 8 minutes, but ovens vary. You’ll know it’s ready when you see the chocolate bubbling up around the edges of the marshmallows.
- Broil for 1–2 minutes (optional but recommended). This is the secret step that makes this dip taste like a real campfire s’more. Switch your oven to broil and watch the marshmallows carefully. They’ll start to develop dark, blistered spots in about 60 seconds. Don’t walk away—they go from perfectly charred to burnt in seconds. I’ve ruined a batch or two by getting distracted.
- Let it rest for 2 minutes. Pull the skillet out of the oven and let it sit for a couple of minutes. The chocolate will be screaming hot, and this short rest allows it to cool slightly so you don’t burn your mouth. It also gives the marshmallows a chance to set just a bit.
- Serve immediately. Place the hot skillet on a trivet or heat-safe surface. Surround it with graham cracker pieces and let everyone dig in. Use spoons or forks for scooping if the crackers aren’t sturdy enough.
A few sensory cues to watch for: when the chocolate is ready, it should look glossy and smooth, not grainy or separated. The marshmallows should be puffed up and golden brown on top, with a few darker spots from the broiler. The smell is unmistakable—toasted sugar and melted chocolate, like the best dessert you’ve ever had.
Cooking Tips & Techniques
I’ve made this dip more times than I can count, and I’ve made every mistake in the book so you don’t have to. Here’s what I’ve learned:
The biggest mistake is using the wrong chocolate. Chocolate chips are designed to hold their shape, so they don’t melt as smoothly as bar chocolate. If you only have chips on hand, add a teaspoon of coconut oil or butter to help them melt. I once tried making this with white chocolate chips, and it turned into a grainy mess—don’t do it.
Don’t overcrowd the marshmallows. They need a little breathing room to puff up properly. If you cram them in, they’ll just melt into a sugary blob instead of forming those beautiful toasted peaks. I learned this lesson after making a dip that looked more like marshmallow soup than a s’mores dip.
Timing is everything under the broiler. The difference between a perfect dip and a burnt one is about 30 seconds. Stay by the oven and watch through the window. You want those marshmallows to look like they just came off a campfire stick—golden brown with a few dark spots. If they start smoking, you’ve gone too far.
Multitasking tip: While the dip is in the oven, arrange your graham crackers on a platter and set out any extra toppings. This way, everything is ready to go the second the skillet comes out. I like to have a small bowl of flaky sea salt nearby for sprinkling.
For consistent results every time, use a kitchen thermometer to check your oven temperature. Ovens run hot or cold, and that 10-degree difference can mean the difference between perfectly melted chocolate and burnt marshmallows.
Variations & Adaptations
This recipe is endlessly adaptable, and I’ve tried several variations over the years. Here are some of my favorites:
- Peanut Butter S’mores Dip: Spread a thin layer of peanut butter on the bottom of the skillet before adding the chocolate. The salty peanut butter pairs beautifully with the sweet chocolate and marshmallows. I did this for a game day party once, and it disappeared faster than the easy crispy bacon-wrapped jalapeno poppers I also brought.
- Dark Chocolate & Sea Salt: Use dark chocolate (70% cocoa or higher) and sprinkle flaky sea salt on top before serving. The bitterness of the dark chocolate balances the sweetness of the marshmallows perfectly. This is my go-to version when I want something a little more sophisticated.
- Berry S’mores Dip: Layer fresh raspberries or sliced strawberries between the chocolate and marshmallows. The berries burst as they heat up, creating little pockets of tartness that cut through the sweetness. It’s a great summer variation when berries are in season.
- Vegan Version: Use dairy-free chocolate (many dark chocolates are naturally vegan) and vegan marshmallows. Dandies brand makes excellent vegan marshmallows that toast up beautifully. Use a vegan butter or coconut oil to grease the skillet.
- Gluten-Free Option: Most graham crackers contain gluten, but there are excellent gluten-free graham cracker options available. Schar makes a good one, or you can use gluten-free cookies like shortbread for dipping.
I once made a version with a layer of caramel sauce under the chocolate, and it was dangerously good. The caramel got all bubbly and mixed with the melted chocolate to create this incredible swirl. Just be careful not to add too much liquid, or the dip can get soupy.
Serving & Storage Suggestions
This dip is best served hot and fresh from the skillet. The texture changes as it cools, so you want everyone to dig in while it’s still gooey and stretchy. Place the skillet on a wooden board or trivet in the center of the table and surround it with graham cracker pieces. I like to arrange them in a fan pattern for a pretty presentation.
What to serve with it: Graham crackers are the classic choice, but don’t stop there. Pretzel sticks are amazing for dipping—the salt cuts the sweetness. Sliced apples or pears add a fresh, crisp contrast. Shortbread cookies, vanilla wafers, or even chunks of pound cake all work beautifully. For a truly indulgent spread, serve it alongside easy no-bake banana pudding icebox cake for a dessert table that will impress everyone.
Storage: Honestly, this dip doesn’t store well. The chocolate hardens as it cools, and the marshmallows turn into a sticky, chewy mess. If you somehow have leftovers (which rarely happens), you can scrape the mixture into an airtight container and refrigerate it for up to 2 days. But it won’t reheat the same way—the texture will be different.
Reheating: If you must reheat it, pop it back in a 350°F (175°C) oven for about 5 minutes. The chocolate will melt again, but the marshmallows won’t puff up like they did the first time. It’s still edible, just not as pretty. My advice? Make just enough for one sitting and enjoy it fresh.
Flavor development: Unlike some dips that taste better the next day, this one is all about the fresh-from-the-oven experience. The contrast between the hot, gooey chocolate and the cool, crunchy graham cracker is what makes it special. Don’t wait—eat it immediately.
Nutritional Information & Benefits
Let’s be honest: this is a treat, not a health food. But knowing what’s in it helps you enjoy it mindfully. Here’s the breakdown for one serving (about 1/6 of the dip, with graham crackers):
- Calories: Approximately 320–380 calories per serving
- Fat: 14–18 grams (mostly from chocolate and butter)
- Carbohydrates: 48–55 grams
- Sugar: 35–40 grams
- Protein: 4–6 grams
- Fiber: 2–3 grams (if using dark chocolate)
Health benefits of key ingredients: Dark chocolate contains antioxidants called flavonoids, which can support heart health when consumed in moderation. Marshmallows are mostly sugar and air, so they don’t offer much nutritionally, but they do make people happy—and that counts for something. Graham crackers provide a small amount of whole grains and fiber.
Dietary considerations: This recipe is naturally vegetarian. To make it vegan, use dairy-free chocolate and vegan marshmallows. For a gluten-free version, use certified gluten-free graham crackers. The recipe contains dairy (butter, chocolate) and gluten (graham crackers), so keep that in mind for guests with allergies.
My personal perspective: I believe in enjoying treats without guilt. This dip is for special occasions—game days, campouts, cozy nights in. One serving won’t derail your health goals, and the joy it brings is worth every calorie. Just pair it with a balanced meal earlier in the day and enjoy every bite.
Conclusion
This easy gooey s’mores dip in a cast iron skillet is the kind of recipe that becomes a staple once you try it. It’s simple enough for a weeknight craving but impressive enough for a party. The combination of melted chocolate and toasted marshmallows is timeless, and the cast iron skillet gives it that rustic, campfire feel without the smoke.
I encourage you to make this your own. Try different chocolate combinations, add your favorite toppings, or experiment with the broiler time to get your perfect level of toastiness. That’s the beauty of a simple recipe—it leaves room for creativity.
I love this recipe because it reminds me of summer nights and good company. It’s the dessert that brings people together around the table, dipping and laughing and making a mess. If you try it, I’d love to hear how it turns out. Leave a comment below and let me know your favorite variation. And if you share it on social media, tag me—I love seeing your creations!
Now go make some gooey, chocolatey magic. You deserve it.
Frequently Asked Questions
Can I make this s’mores dip in a slow cooker?
Yes, you can! Layer the chocolate and marshmallows in a small slow cooker and cook on low for about 1–2 hours. The marshmallows won’t get toasted, so you might want to finish them under the broiler for that campfire look.
What if I don’t have a cast iron skillet?
No problem! Use any oven-safe dish—a ceramic baking dish, a pie plate, or even a small cake pan will work. Just adjust the cooking time slightly since different materials conduct heat differently. Keep an eye on it and pull it out when the chocolate is melted and the marshmallows are puffed.
Can I use mini marshmallows instead of regular ones?
I don’t recommend it. Mini marshmallows melt too quickly and turn into a sugary puddle rather than forming those beautiful toasted peaks. Stick with regular-sized marshmallows for the best texture and presentation.
How do I clean the cast iron skillet after making this dip?
Let the skillet cool completely, then scrape out any remaining marshmallow and chocolate. Wash it with hot water and a stiff brush—no soap needed for a well-seasoned skillet. If anything is stuck, boil a little water in the skillet to loosen it, then scrub. Dry it thoroughly and rub a thin layer of oil on it to maintain the seasoning.
Can I make this dip ahead of time for a party?
This dip is really best made fresh, right before serving. The texture changes as it cools, and it doesn’t reheat well. If you’re planning a party, assemble the ingredients in the skillet ahead of time and pop it in the oven when guests arrive. It only takes 10 minutes!
Pin This Recipe!
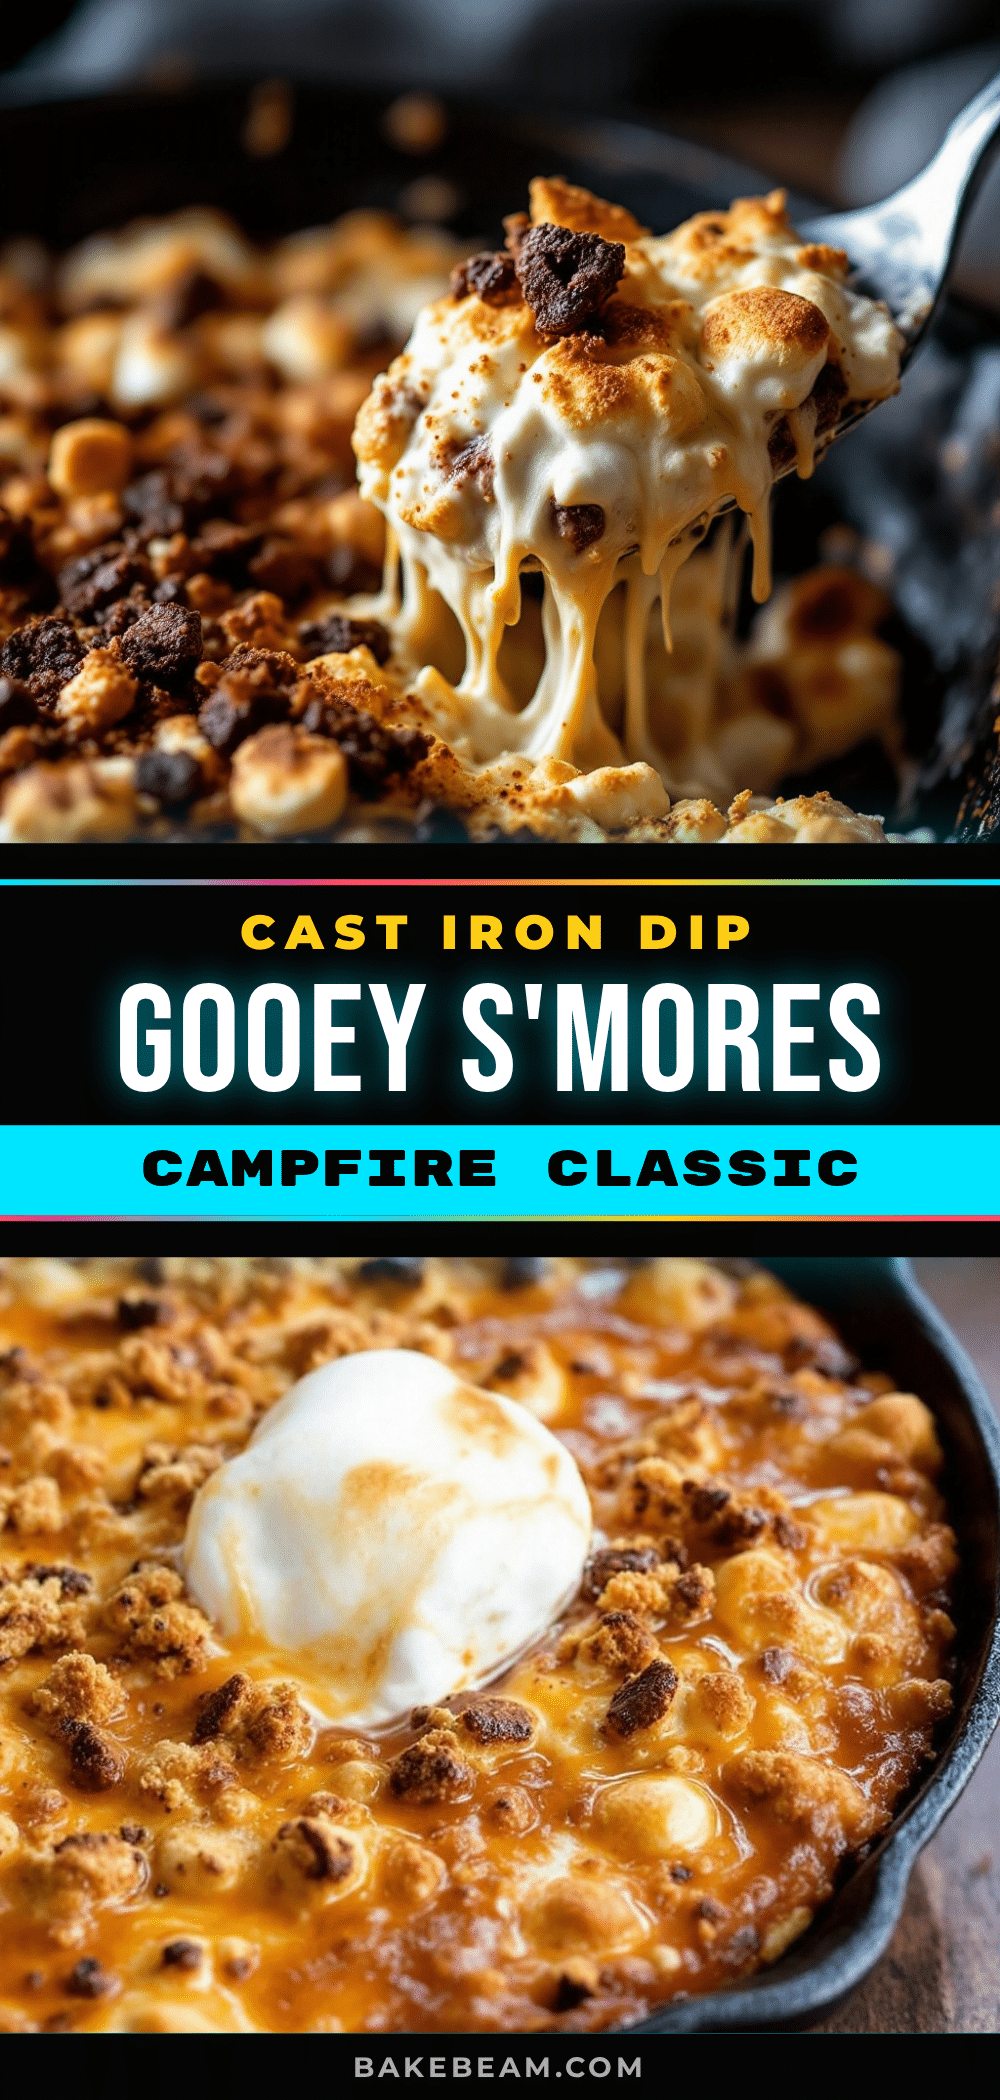
Easy Gooey Smores Dip in a Cast Iron Skillet

This easy gooey s’mores dip in a cast iron skillet captures the magic of a campfire s’more without the logistics of building a fire. With melted chocolate and toasted marshmallows, it’s a quick, crowd-pleasing dessert that tastes exactly right every single time.
- Prep Time: 5 minutes
- Cook Time: 10 minutes
- Total Time: 15 minutes
- Yield: 6 servings 1x
- Category: Dessert
- Cuisine: American
Ingredients
- 7–8 ounces chocolate bars (e.g., Hershey’s milk chocolate)
- 2 cups regular-sized marshmallows (e.g., Jet-Puffed)
- Graham crackers (for serving)
- 1 teaspoon butter (for greasing skillet)
- Optional: flaky sea salt, peanut butter, Nutella, or fresh berries
Instructions
- Preheat your oven to 350°F (175°C). If using a grill, heat to medium.
- Grease the bottom and sides of an 8-inch or 10-inch cast iron skillet with 1 teaspoon of butter.
- Break chocolate bars into pieces and arrange in a single even layer across the bottom of the skillet.
- Place marshmallows on top of the chocolate in a single layer, slightly touching each other, leaving space around the edges.
- Bake for 8–10 minutes until chocolate is mostly melted and marshmallows are puffed and starting to brown.
- Optional: Switch oven to broil and broil for 1–2 minutes until marshmallows develop dark, blistered spots. Watch carefully to avoid burning.
- Let the skillet rest for 2 minutes to cool slightly.
- Serve immediately with graham cracker pieces for dipping.
Notes
Use bar chocolate instead of chips for smoother melting. Don’t overcrowd marshmallows—they need space to puff. Watch carefully under the broiler; marshmallows can burn in seconds. Best served fresh; leftovers don’t reheat well. For a vegan version, use dairy-free chocolate and vegan marshmallows. For gluten-free, use certified gluten-free graham crackers.
Nutrition
- Serving Size: 1/6 of dip with grah
- Calories: 320380
- Sugar: 3540
- Sodium: 150200
- Fat: 1418
- Saturated Fat: 810
- Carbohydrates: 4855
- Fiber: 23
- Protein: 46
Keywords: s'mores dip, cast iron skillet dessert, easy s'mores, gooey chocolate dip, campfire dessert, quick dessert, marshmallow dip