I want banana pudding right now. Not the kind you have to bake, not the kind that requires a stove, not even the kind that takes more than five minutes of actual effort. I want layers of creamy vanilla, soft bananas, and those little Nilla wafers that somehow stay slightly crunchy while also getting this dreamy, cake-like texture from soaking overnight. And honestly? I want it without turning on the oven or dirtying more than one bowl. That is the exact moment this Easy No-Bake Banana Pudding Icebox Cake was born — sitting on my kitchen floor after a long week, staring into the fridge, realizing I had everything except the patience for a complicated dessert.
The thing about this recipe is that it feels almost too simple to be right. You layer cookies, you layer bananas, you layer a creamy pudding mixture, and you repeat. That is it. No tempering eggs, no folding whipped cream by hand until your arm cramps, no waiting for a crust to set. But here is the secret nobody tells you about icebox cakes: the waiting is where the magic happens. The fridge does all the work while you sleep, while you binge that show you have been ignoring, while you pretend you are not sneaking a spoonful of the leftover pudding mixture at midnight.
I have made this for summer barbecues where people asked for the recipe before they finished their first bite. I have made it for holiday dinners when the oven was already packed with casseroles and nobody wanted another baked dessert. And I have made it for myself, in a small dish, on a Tuesday, just because. That is the kind of recipe this is — flexible enough for a crowd, personal enough for a quiet night. If you have ever wanted a dessert that tastes like you spent hours but actually took minutes, this one is for you.
Why You Will Love This Recipe
Let me tell you why this particular version of banana pudding icebox cake has earned a permanent spot in my recipe rotation. I have tested this more times than I care to admit, tweaking ratios, testing different brands of vanilla wafers, even trying it with homemade pudding from scratch. And every single time, I came back to this exact method. It is not just easy — it is foolproof.
- No Oven Required : Summer heat? Broken oven? No problem. This comes together on your countertop and sets in the fridge. You can literally make this in pajamas.
- Five Minutes of Active Time : I timed it. Five minutes to whisk together the pudding and sour cream mixture, slice the bananas, and start layering. The fridge does the rest.
- Simple Pantry Ingredients : Bananas, vanilla wafers, instant pudding mix, milk, sour cream, and whipped topping. That is it. No fancy extracts, no obscure grocery store finds.
- Crowd-Pleasing Magic : I have served this to kids who usually pick at desserts and adults who claim they do not have a sweet tooth. The bowl always comes back empty.
- Make-Ahead Perfection : This actually tastes BETTER the next day. The cookies soften into a cake-like texture, the flavors meld together, and the whole thing becomes this cohesive, creamy, dreamy dessert.
What makes this different from every other banana pudding recipe out there? Two things. First, the sour cream. I know it sounds weird, but trust me on this — it cuts the sweetness of the pudding and adds a subtle tang that makes the whole thing taste more balanced, less like sugar bomb. Second, the layering technique. Instead of just dumping everything in a dish, I take an extra thirty seconds to arrange the vanilla wafers in a single layer around the edge of the dish. It looks gorgeous, and the cookies on the outside stay slightly crunchier than the ones in the middle. Texture contrast is everything.
This recipe is the kind that makes you close your eyes after the first bite. It is comfort food at its finest — nostalgic, creamy, and somehow both indulgent and light. Perfect for when you need to impress without stress, or when you just need a little something sweet after a long day.
Ingredients You Will Need
This recipe uses simple, straightforward ingredients that you probably already have in your kitchen or can grab in the dessert aisle of any grocery store. The beauty of this Easy No-Bake Banana Pudding Icebox Cake is that there is nothing fussy or hard to find — just real, recognizable ingredients that come together to create something surprisingly elegant.
For the Pudding Layer
- 1 box (3.4 oz) instant vanilla pudding mix — I recommend Jell-O brand for consistent results, but any brand works fine. Do not use cook-and-serve pudding; it will not set properly in this recipe.
- 2 cups cold whole milk — Whole milk gives the creamiest texture. You can use 2% in a pinch, but do not go lower than that. The fat content matters here for the final texture.
- 1 cup sour cream — This is my secret ingredient. Full-fat sour cream works best, but Greek yogurt is a decent substitute if you are in a bind (use plain, full-fat Greek yogurt).
For the Layers
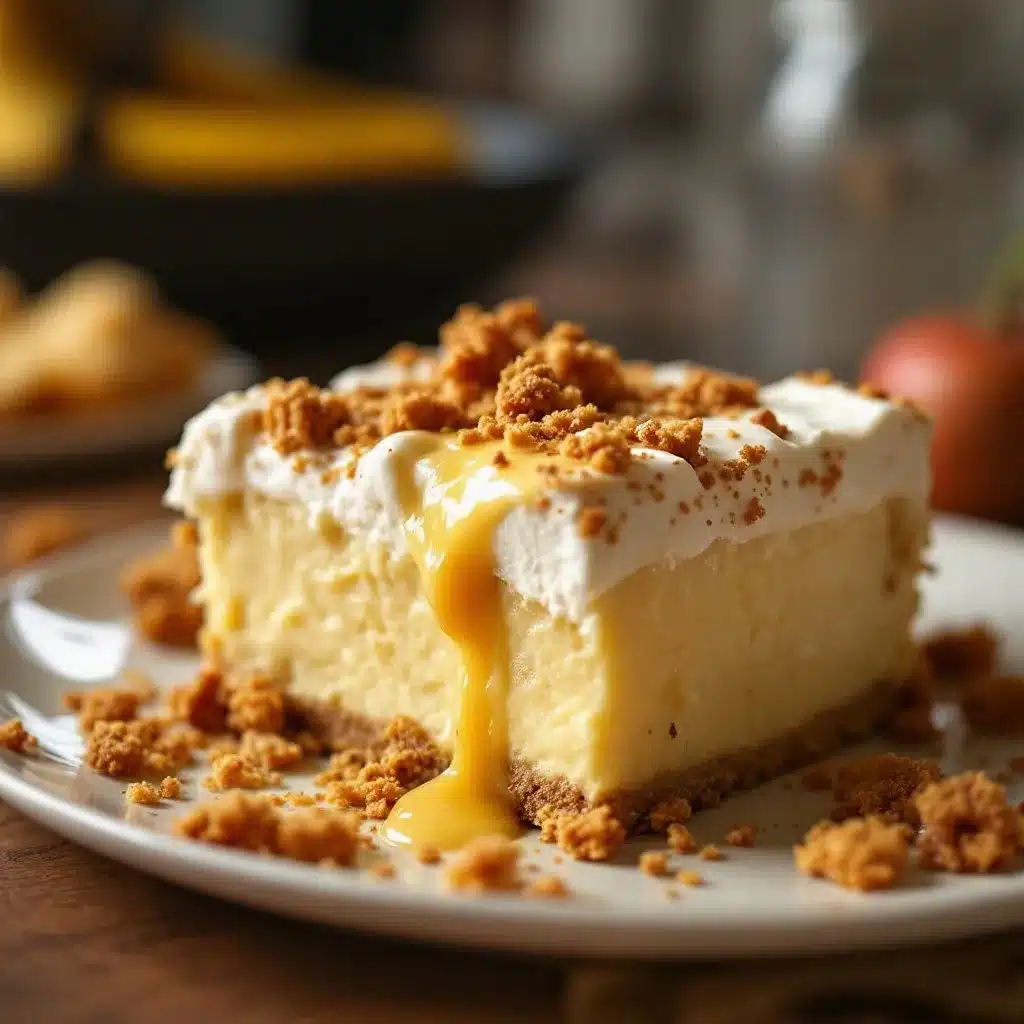
- 1 box (11 oz) Nilla Wafers — You will use almost the entire box. Generic vanilla wafers work fine, but Nilla has that classic flavor and the right texture for softening overnight.
- 4-5 ripe but firm bananas — You want bananas that are yellow with a few brown spots. Too green and they will be hard and starchy. Too brown and they will turn into mush in the layers. Slice them about 1/4-inch thick.
- 1 container (8 oz) frozen whipped topping, thawed — Cool Whip or any store brand works. Make sure it is fully thawed in the fridge before you start, not at room temperature (it gets watery if you rush it).
Optional Garnishes
- Crushed vanilla wafers for topping
- Sliced banana for decoration (brush with a little lemon juice to prevent browning)
- Shaved white chocolate or a dusting of cinnamon
One thing I learned the hard way: slice your bananas right before you start layering. If you slice them too early, they oxidize and turn brown. Not the end of the world flavor-wise, but it looks sad. Also, make sure your pudding mixture is thick before you start layering. Let it sit for about five minutes after whisking — it should be thick enough to hold a ribbon on the surface when you lift the whisk.
Equipment Needed
You do not need a lot of fancy equipment for this recipe, which is part of why I love it. Here is what you will need:
- One large mixing bowl — Any size works, but a medium to large bowl gives you room to whisk without splashing.
- Whisk — A wire whisk is best for getting the pudding smooth. A fork works in a pinch but takes longer.
- Sharp knife and cutting board — For slicing bananas. A dull knife will squish them.
- 9×13-inch baking dish — Glass is ideal because you can see the layers, but metal or ceramic works fine. You can also use a trifle bowl for a prettier presentation.
- Rubber spatula — For spreading the whipped topping and scraping every last bit of pudding out of the bowl.
- Plastic wrap or lid — To cover the dish while it chills.
If you do not have a 9×13 dish, you can use two smaller dishes or even individual serving cups. I have made single-serving versions in mason jars for picnics, and they are adorable. Just adjust the layering to fit your container size.
Preparation Method
This is the easy part. Follow these steps, and you will have a dessert that looks like you spent way more time on it than you actually did.
- Make the pudding mixture : In your large mixing bowl, whisk together the instant vanilla pudding mix and 2 cups cold milk. Whisk for about 2 minutes until the mixture thickens. It will be thin at first, then suddenly get thick — that is normal. Let it sit for 2-3 minutes to fully set.
- Add the sour cream : Add 1 cup sour cream to the thickened pudding and whisk until completely smooth. The mixture will lighten in color and get even thicker. Taste it here — that tangy-sweet balance is exactly what you are looking for.
- Fold in the whipped topping : Add the thawed whipped topping to the pudding-sour cream mixture. Use your rubber spatula to gently fold it in until no white streaks remain. Do not stir vigorously; you want to keep the mixture light and airy. This is your final pudding layer.
- Slice the bananas : Peel and slice your bananas into 1/4-inch rounds. Work quickly so they do not brown. I usually slice them directly onto a plate so I can grab them easily during layering.
- Start layering : Spread a thin layer of the pudding mixture (about 1/2 cup) on the bottom of your 9×13 dish. This keeps the first layer of cookies from sliding around.
- First cookie layer : Arrange a single layer of vanilla wafers on top of the pudding. Cover the entire surface. Do not overlap them, but get them as close together as possible. Take a few extra wafers and press them vertically along the sides of the dish, flat side against the glass. This gives you those pretty cookie edges when you serve it.
- First banana layer : Arrange half of your sliced bananas evenly over the cookies. Spread them out so every bite gets some banana.
- First pudding layer : Spread half of the remaining pudding mixture over the bananas. Use your spatula to spread it gently to the edges.
- Repeat the layers : Add another layer of cookies, followed by the remaining bananas, then the remaining pudding mixture. Spread it evenly to the edges.
- Top with whipped topping : Spread the remaining whipped topping over the top layer. Use your spatula to create swirls or a smooth surface — whatever you prefer.
- Garnish : Crush a few vanilla wafers and sprinkle them over the top. Add a few banana slices if you want, but remember they will brown overnight. I usually add fresh banana slices right before serving instead.
- Chill : Cover the dish with plastic wrap or a lid and refrigerate for at least 6 hours, but overnight is best. The cookies need time to soften into that cake-like texture. Do not rush this step — I have tried it after 3 hours, and the cookies were still crunchy in the middle. 8 hours is the sweet spot.
Here is a tip I learned from making this a dozen times: when you arrange the cookies on the sides of the dish, press them firmly against the glass. They will stick better and stay in place while you add the other layers. Also, if you notice your pudding mixture is too thick to spread easily, do not panic. Just dollop it in spoonfuls and spread gently. It will settle as it chills.
Cooking Tips and Techniques
I have made enough mistakes with this recipe to know exactly what works and what does not. Let me save you the trouble.
Do not overmix the pudding. Instant pudding sets quickly, and if you keep whisking after it thickens, it can get grainy. Whisk just until it thickens, then stop. Let it sit for a couple minutes before adding the sour cream.
Temperature matters. Your milk should be cold straight from the fridge. Room temperature milk will not set the pudding properly. Same goes for the whipped topping — thaw it in the fridge, not on the counter. Cold ingredients = perfect texture.
Banana placement is strategic. I learned this the hard way. If you put bananas directly against the glass on the sides, they will brown and look unappetizing. Keep the bananas in the middle layers, away from the edges. The cookies on the sides protect them from air exposure.
Press the cookies down slightly. After you add each cookie layer, gently press down with your palm. This helps them settle into the pudding and ensures even softening. Do not smash them; just a gentle press.
Let it rest before serving. I know it is tempting to dig in right away, but trust the process. After 8 hours in the fridge, the cookies have transformed into something between cake and pudding. After 24 hours, it is even better. The flavors meld, the texture becomes uniform, and every bite is perfect.
One mistake I made early on: I used reduced-fat sour cream because that is what I had. The texture was thinner, and the final dessert was less creamy. Full-fat ingredients make a noticeable difference here. If you are watching calories, just eat a smaller portion — the full-fat version is worth it.
Variations and Adaptations
This recipe is incredibly forgiving and adaptable. Here are some variations I have tried and loved:
Chocolate Banana Version
Swap the vanilla pudding for chocolate instant pudding. Use chocolate wafer cookies instead of vanilla wafers. The combination of chocolate and banana is classic for a reason. I made this for a friend who claims she does not like banana pudding, and she ate three servings.
Individual Mason Jar Servings
Layer everything in 8-ounce mason jars instead of a baking dish. This is perfect for picnics, parties, or portion control. The layering order stays the same, but you will get about 8-10 jars depending on how full you fill them. These travel beautifully and look adorable.
Gluten-Free Option
Use gluten-free vanilla wafers (Kinnikinnick makes a good one) and ensure your pudding mix is gluten-free. Most instant pudding mixes are gluten-free, but check the label. Everything else in the recipe is naturally gluten-free.
Lighter Version
Use sugar-free instant pudding, light sour cream, and light whipped topping. The texture will be slightly less rich, but it still satisfies that craving. I have made this for a friend on a strict diet, and she said it hit the spot.
Banana Pudding Trifle
Use a trifle bowl instead of a baking dish. The layers are visible through the glass, and it looks stunning on a dessert table. You can add extra layers if your bowl is tall — just repeat the cookie, banana, pudding pattern until you reach the top.
I once made a peanut butter banana version by drizzling melted peanut butter between the layers. It was dangerously good. If you try that, warm the peanut butter for about 15 seconds in the microwave so it drizzles easily.
Serving and Storage Suggestions
This Easy No-Bake Banana Pudding Icebox Cake is best served cold, straight from the fridge. I like to let it sit at room temperature for about 10 minutes before serving — it takes the chill off and makes the flavors more pronounced. But honestly, I have eaten it straight from the fridge at midnight and it was perfect.
Serving suggestions : Scoop it into bowls and add a dollop of fresh whipped cream if you are feeling fancy. A sprinkle of cinnamon on top adds warmth. Crushed vanilla wafers on top give a nice crunch contrast to the creamy layers. For a summer party, serve it alongside fresh berries or a simple fruit salad.
Storage : Cover the dish tightly with plastic wrap or a lid and keep it in the refrigerator. It will stay good for 3-4 days. The bananas will continue to soften and may brown slightly, but the flavor stays great. I actually think day 2 and 3 are the best — everything has fully melded together by then.
Freezing : You can freeze this dessert, but the texture changes. The bananas get mushy when thawed, and the cookies lose their structure. If you must freeze it, do so without the banana layers and add fresh bananas after thawing. But honestly, this keeps so well in the fridge that freezing is unnecessary.
Reheating : Do not reheat this. It is meant to be served cold. If you want a warm banana dessert, make a different recipe. This one is all about that cool, creamy, no-bake texture.
One thing I love about this recipe: the flavors actually improve over time. The vanilla wafers absorb the pudding and banana flavors, creating this cohesive, almost cake-like texture. By day two, you cannot even tell where the cookies end and the pudding begins. It is pure comfort in a bowl.
Nutritional Information and Benefits
Let me be honest with you — this is not health food. It is a dessert, and it is meant to be enjoyed. But here is the nutritional breakdown if you are curious, based on 12 servings:
| Nutrient | Amount Per Serving |
|---|---|
| Calories | 320 |
| Total Fat | 14g |
| Saturated Fat | 8g |
| Cholesterol | 20mg |
| Sodium | 280mg |
| Total Carbohydrates | 45g |
| Dietary Fiber | 2g |
| Sugars | 28g |
| Protein | 4g |
On the bright side, bananas are a good source of potassium, vitamin C, and vitamin B6. They also contain prebiotics that support gut health. The milk and sour cream provide calcium and protein. And honestly? Sometimes you just need a dessert that makes you happy. This one does that without any guilt.
If you are watching your sugar intake, use sugar-free pudding mix and light whipped topping. You can also reduce the amount of cookies by skipping one of the middle layers. It will still taste great, just with fewer carbs.
Conclusion
This Easy No-Bake Banana Pudding Icebox Cake is the kind of recipe that becomes a staple. It is the dessert you make when you need something impressive without the stress. It is the recipe you pull out for summer barbecues, holiday dinners, and random Tuesday cravings. It is simple enough for a beginner baker but delicious enough to satisfy anyone.
I love this recipe because it reminds me that good food does not have to be complicated. Sometimes the best things come from a box of cookies, a few bananas, and a little patience. The fridge does the hard work, and you get to take all the credit.
I want to hear how yours turns out. Did you add chocolate? Use a different cookie? Make it in mason jars? Drop a comment below and let me know. And if you loved this recipe, share it with a friend who needs an easy dessert in their life. Trust me, they will thank you.
Now go make some banana pudding. You deserve it.
Frequently Asked Questions
Can I use homemade vanilla pudding instead of instant?
Technically yes, but the texture will be different. Homemade pudding is thinner than the instant version, so your layers might not hold up as well. If you want to try it, make sure your homemade pudding is very thick before layering. I would add an extra tablespoon of cornstarch to the recipe to compensate.
How do I keep my bananas from turning brown?
The pudding mixture actually protects the bananas from air exposure, so they will not brown as quickly as sliced bananas on a plate. But to be safe, brush your banana slices with a little lemon juice or pineapple juice before layering. It adds a tiny bit of acidity that balances the sweetness too.
Can I make this dairy-free?
Yes. Use a dairy-free instant pudding mix (check the label), almond milk or oat milk, dairy-free sour cream (Tofutti makes a good one), and coconut whipped topping. The texture will be slightly different but still delicious. I have tested this with oat milk and it worked great.
How far in advance can I make this?
You can make this up to 2 days in advance. In fact, it tastes better on day 2. After 3 days, the bananas start to get mushy and the cookies lose their structure. I recommend making it the day before you plan to serve it for the best texture and flavor.
Can I use a different cookie instead of Nilla wafers?
Absolutely. Shortbread cookies, graham crackers, or even butter cookies work well. Keep in mind that different cookies soften at different rates. Graham crackers will get very soft very quickly, while shortbread holds up longer. Experiment and see what you like best. I have made this with Biscoff cookies and it was incredible.
Pin This Recipe!
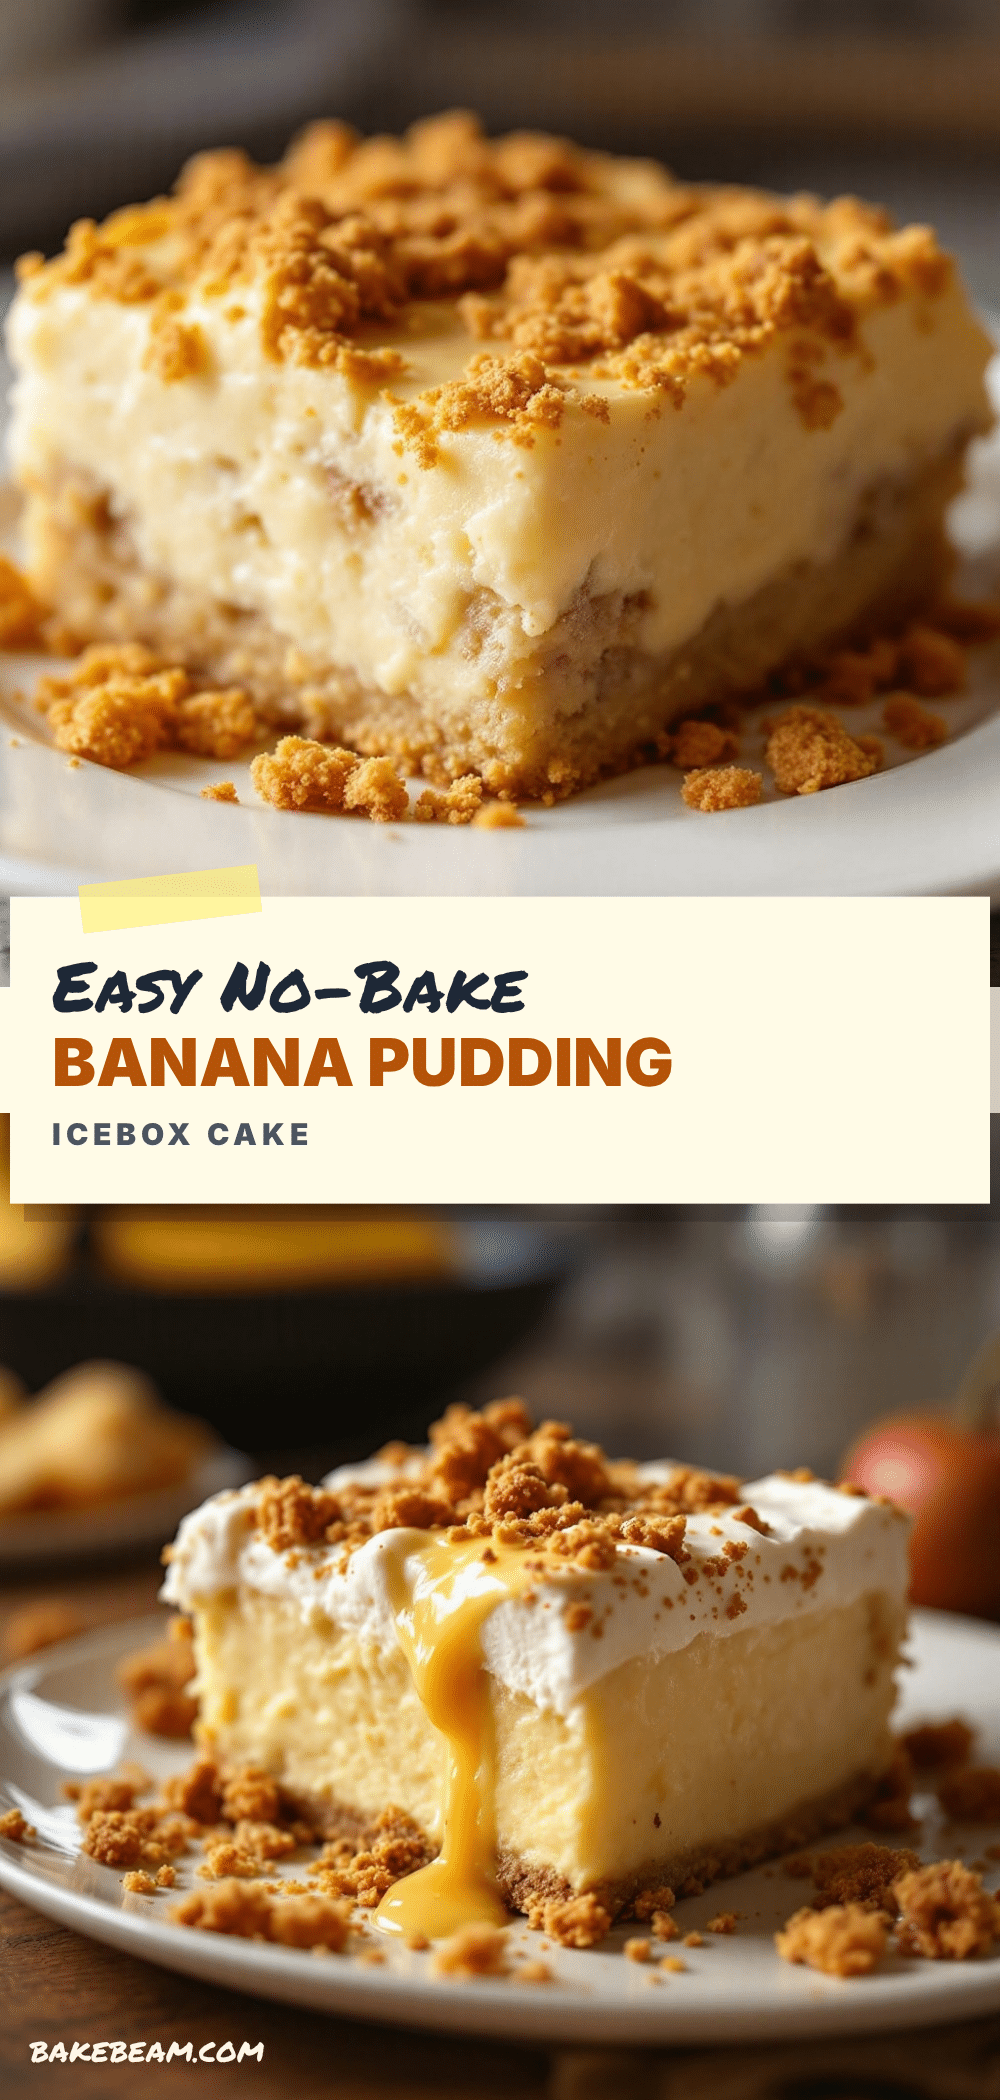
Easy No-Bake Banana Pudding Icebox Cake (Best 5-Min Recipe)
This Easy No-Bake Banana Pudding Icebox Cake is a creamy, dreamy dessert that comes together in just five minutes of active time. Layers of vanilla wafers, fresh bananas, and a tangy-sweet pudding mixture create a crowd-pleasing treat that tastes even better the next day.
- Prep Time: 5 minutes
- Cook Time: 0 minutes
- Total Time: 6 hours 5 minutes (includes chilling)
- Yield: 12 servings 1x
- Category: Dessert
- Cuisine: American
Ingredients
- 1 box (3.4 oz) instant vanilla pudding mix
- 2 cups cold whole milk
- 1 cup sour cream
- 1 box (11 oz) Nilla Wafers
- 4–5 ripe but firm bananas
- 1 container (8 oz) frozen whipped topping, thawed
- Crushed vanilla wafers for topping (optional)
- Sliced banana for decoration (optional)
- Shaved white chocolate or a dusting of cinnamon (optional)
Instructions
- In a large mixing bowl, whisk together the instant vanilla pudding mix and 2 cups cold milk for about 2 minutes until thickened. Let sit for 2-3 minutes.
- Add 1 cup sour cream to the thickened pudding and whisk until completely smooth.
- Gently fold in the thawed whipped topping until no white streaks remain.
- Peel and slice bananas into 1/4-inch rounds.
- Spread a thin layer (about 1/2 cup) of the pudding mixture on the bottom of a 9×13-inch dish.
- Arrange a single layer of vanilla wafers on top of the pudding, covering the entire surface. Press extra wafers vertically along the sides of the dish.
- Arrange half of the sliced bananas evenly over the cookies.
- Spread half of the remaining pudding mixture over the bananas.
- Repeat with another layer of cookies, remaining bananas, and remaining pudding mixture.
- Spread the remaining whipped topping over the top layer.
- Garnish with crushed vanilla wafers and optional banana slices or other toppings.
- Cover and refrigerate for at least 6 hours, preferably overnight.
Notes
For best results, use full-fat sour cream and whole milk. Slice bananas just before layering to prevent browning. The dessert tastes even better after 24 hours in the fridge. Do not overmix the pudding to avoid graininess. Press cookies gently into the pudding layers for even softening.
Nutrition
- Serving Size: 1 serving (1/12 of r
- Calories: 320
- Sugar: 28
- Sodium: 280
- Fat: 14
- Saturated Fat: 8
- Carbohydrates: 45
- Fiber: 2
- Protein: 4
Keywords: no-bake banana pudding, icebox cake, easy dessert, banana pudding, no-bake dessert, summer dessert, make-ahead dessert