I was standing in my kitchen, staring at a bowl of bananas that had gone from “yellow and firm” to “black and squishy” faster than I could eat them. You know how it goes. You buy a bunch, plan to bake something healthy, and then life happens. The bananas turn into spots, then black, then a gooey mess that looks like it belongs in a compost bin.
I honestly thought I’d have to toss them. Or maybe just blend them into a smoothie and pretend I was being productive. But then I remembered a tip from a friend who bakes for a living. She said those black bananas are actually sugar bombs in disguise. The starch has broken down completely, turning into liquid sweetness that bakes into something tender.
I grabbed a bowl. Just one bowl. No mixer, no attachment, no mess. I smashed the bananas with a fork until they were a uniform pulp. Then I added the wet ingredients and the dry. I mixed it with a wooden spoon. It looked wet. It looked like a lot. I worried it would be gummy in the middle.
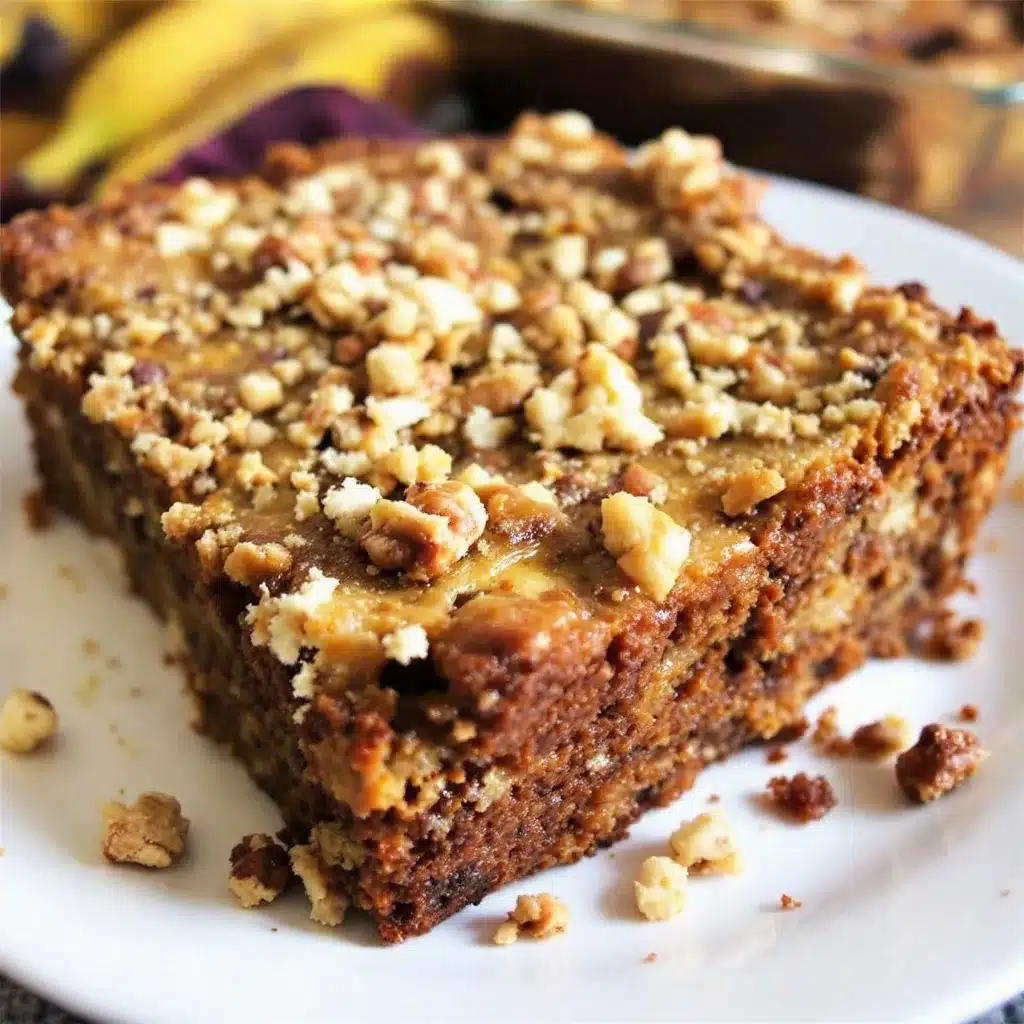
Instead, what came out of the oven was moist. Not wet-moist, but tender-moist. The kind of banana bread that falls apart slightly when you cut it, releasing that warm, caramelized scent that makes your neighbors wonder what you’re hiding. The walnuts added a crunch that kept every bite from being too heavy. It wasn’t fancy. It wasn’t complicated. It was just really, really good.
I’ve made this recipe dozens of times since then. Sometimes I add chocolate chips. Sometimes I use pecans. But the core method stays the same. It’s reliable. It’s forgiving. And it turns those “oops” bananas into something you’ll actually look forward to eating for breakfast. That’s the kind of cooking I can get behind.
Why You’ll Love This Recipe
There’s a specific kind of satisfaction that comes from baking something with ingredients you already have. You don’t need to run to the store. You don’t need to wait for a delivery. You just need a few overripe bananas and some walnuts. This banana bread recipe works because it respects the ingredients rather than fighting them.
- Quick & Easy: This comes together in under 15 minutes of active prep time. The rest is just waiting in the oven. It’s perfect for those weeknights when you’re tired but want something homemade.
- Simple Ingredients: No fancy grocery trips needed. You likely already have flour, sugar, eggs, and bananas in your kitchen. If you’re missing walnuts, that’s okay too, but they add a nice texture.
- Perfect for Meal Prep: This loaf keeps well for days. It’s great for grabbing a quick breakfast on the go or packing into lunchboxes. It’s also the hero of any afternoon snack attack.
- Crowd-Pleaser: Kids love the sweetness. Adults love the nuttiness. It’s always a hit at potlucks or when you need to bring something to a neighbor.
- Unbelievably Delicious: The texture is the star here. It’s dense enough to feel substantial but light enough to eat two slices without feeling weighed down. It’s comfort food reimagined for the modern kitchen.
What makes this version different from the rest? It’s the ratio. I’ve tested many recipes that call for equal parts banana and flour, which often results in a gummy interior. This recipe uses a bit more flour and a touch of baking soda to ensure a proper rise. The walnuts are folded in gently, so you get distinct crunches rather than a uniform nutty mush. It’s not just another banana bread—it’s the version that actually stays moist for days.
It’s the kind of recipe that makes you close your eyes after the first bite. It tastes like home. Like safety. Like a warm kitchen on a rainy day. It’s perfect for impressing guests without stress, or turning a simple Tuesday morning into something memorable.
What Ingredients You Will Need
This recipe uses simple, wholesome ingredients to deliver bold flavor and satisfying texture without the fuss. The beauty of this loaf lies in how basic the components are. You don’t need specialty flours or exotic spices. Just good, honest staples that work together to create that signature moist crumb.
- Ripe Bananas: You’ll need about 3 to 4 medium bananas. They should be heavily spotted or even black. The riper they are, the sweeter the bread will be. Mash them well for a smooth batter.
- Unsalted Butter: Melted butter adds richness and helps create a tender crumb. I recommend using a high-quality European-style butter if you can find it, but standard supermarket butter works fine. You’ll need about 1/2 cup (115g).
- Granulated Sugar: White sugar provides structure and crisp edges. For a deeper flavor, you can swap half of it for brown sugar, which adds a hint of molasses. Use 3/4 cup (150g).
- Eggs: Large eggs, room temperature, are best for emulsifying the batter. They help bind the wet and dry ingredients. Use 2 large eggs.
- Vanilla Extract: A good splash of vanilla enhances the banana flavor. Don’t skip this. Use 1 teaspoon of pure vanilla extract.
- All-Purpose Flour: This is the backbone of the bread. It provides the structure. Measure it correctly—spoon and level—to avoid a dense loaf. Use 1 1/2 cups (190g).
- Baking Soda: This reacts with the acidity in the bananas to help the bread rise. Use 1 teaspoon.
- Salt: A pinch of salt balances the sweetness. It makes the banana flavor pop. Use 1/2 teaspoon.
- Walnuts: Chopped walnuts add a necessary crunch and earthy flavor. Toasting them first is optional but highly recommended for extra aroma. Use 1/2 cup (50g).
If you want to substitute, you can use oil instead of butter for a slightly lighter texture. Almond flour can replace some of the all-purpose flour for a nuttier taste, but don’t swap it all out or the bread won’t hold together. For a gluten-free option, use a 1:1 gluten-free flour blend. The key is to keep the liquid-to-dry ratio balanced.
Equipment Needed
You don’t need a fancy kitchen to make this bread. In fact, the less equipment you use, the easier it is to clean up afterward. Here is what you’ll need to get the job done right.
- One Large Mixing Bowl: A standard 4-quart bowl is perfect. It needs to be big enough to hold all the ingredients without spilling when you mix. Glass or ceramic bowls work well, but sturdy plastic is fine too.
- Fork or Potato Masher: For mashing the bananas. A fork gives you a bit more control over the texture, while a masher is faster. I prefer a fork because I like to see the chunks of banana.
- Wooden Spoon or Silicone Spatula: For mixing the batter. You want something sturdy enough to fold in the walnuts without tearing the bowl. A spatula is great for scraping the sides to ensure everything is incorporated.
- Loaf Pan: A standard 9×5 inch loaf pan. Non-stick is easiest, but if yours isn’t, you’ll need to grease it well or use parchment paper. I always line the bottom with parchment for easy removal.
- Measuring Cups and Spoons: For accuracy. Baking is chemistry, after all. Measuring spoons are crucial for the baking soda and salt.
If you don’t have a loaf pan, you can use a round cake pan or even muffin tins. The baking time will change significantly for muffins (about 20-25 minutes), so keep an eye on them. For a round pan, you might need to add 5-10 minutes to the bake time. Keep a toothpick handy to test for doneness.
Preparation Method
Making this banana bread is straightforward, but there are a few steps that matter more than others. Follow these instructions carefully to ensure a moist, tender loaf every time.
- Preheat the Oven: Start by preheating your oven to 350°F (175°C). This ensures the oven is at the right temperature when the batter goes in, which helps with the initial rise. Take about 10 minutes for this to happen.
- Prepare the Pan: Grease your 9×5 inch loaf pan with butter or non-stick spray. For extra insurance, line the bottom and sides with parchment paper, leaving an overhang on the sides. This makes it easy to lift the bread out after baking.
- Mash the Bananas: Peel your ripe bananas and place them in the large mixing bowl. Mash them with a fork until they are mostly smooth with a few small chunks. You should have about 1 1/2 cups of mashed banana. This takes about 2 minutes.
- Mix Wet Ingredients: Add the melted butter, sugar, eggs, and vanilla extract to the mashed bananas. Whisk or stir vigorously until the mixture is well combined and smooth. The sugar might not dissolve completely yet, and that’s okay. Take about 3 minutes.
- Add Dry Ingredients: Sprinkle the flour, baking soda, and salt over the wet mixture. Gently fold them in using a wooden spoon or spatula. Stop mixing as soon as the flour disappears. Overmixing develops gluten, which leads to a tough bread. Take about 2 minutes.
- Fold in Walnuts: Add the chopped walnuts to the batter. Fold them in gently just until distributed. Be careful not to break them up too much. Take about 1 minute.
- Bake: Pour the batter into the prepared loaf pan. Smooth the top with your spatula. Place it in the center of the oven. Bake for 55-65 minutes. The top should be golden brown, and a toothpick inserted into the center should come out clean or with a few moist crumbs. Do not overbake, or it will dry out.
- Cool: Let the bread cool in the pan for 10 minutes. Then, lift it out using the parchment paper and transfer it to a wire rack to cool completely. This step is crucial for the texture to set. Take about 30-45 minutes.
If the top starts browning too quickly, you can tent it loosely with aluminum foil after the first 30 minutes. This prevents burning while the center finishes cooking.
Cooking Tips & Techniques
There are a few secrets to making banana bread that actually tastes like banana bread and not just sweet bread. I’ve learned these through trial and error, including a few burnt loaves and dense bricks.
Use Very Ripe Bananas: This is non-negotiable. Green or yellow bananas will not provide enough sweetness or flavor. Look for bananas with black skins. If they aren’t ripe enough, you can bake them on a sheet pan at 300°F for 15 minutes until they turn black. It sounds weird, but it works.
Don’t Overmix: When you add the flour, mix only until combined. Lumps are okay. Overmixing makes the bread dense and tough. Think gentle folds, not vigorous stirring.
Toast Your Nuts: If you have the time, toast the walnuts in a dry pan for 3-4 minutes before adding them to the batter. This brings out their natural oils and makes them crunchier. It adds a depth of flavor that raw nuts just don’t have.
Check for Doneness Early: Ovens vary. Start checking your bread at 50 minutes. If the toothpick comes out clean, it’s done. If it has wet batter, give it 5 more minutes. If it has moist crumbs, it’s perfect.
Let It Cool: I know it’s hard to wait, but slicing warm banana bread can make it gummy. Let it cool on a rack so air circulates around it. This helps the crust set and the interior firm up.
Variations & Adaptations
While the classic walnut version is my favorite, this recipe is a blank canvas. Here are some ways to change it up.
- Chocolate Chip: Add 1/2 cup of semi-sweet chocolate chips instead of walnuts. The chocolate melts into pockets of gooey goodness. It’s like a dessert bread.
- Pecan Swap: Pecans pair beautifully with banana. Use them instead of walnuts for a slightly sweeter, richer nut flavor. They’re great for holidays.
- Spiced Version: Add 1 teaspoon of cinnamon and a pinch of nutmeg to the dry ingredients. This adds warmth and complexity, especially good in the fall.
- Gluten-Free: Use a 1:1 gluten-free flour blend. Make sure it contains xanthan gum, or add 1/2 teaspoon yourself. The texture might be slightly crumblier, but it will still be moist.
- Oil Substitution: If you prefer a lighter texture, substitute the melted butter with an equal amount of neutral oil like canola or vegetable oil. The bread will stay moist for longer.
I’ve also tried adding a streusel topping made with oats, brown sugar, and cold butter. It adds a nice crunch on top. Just sprinkle it on before baking. It’s a nice change from the smooth top.
Serving & Storage Suggestions
This banana bread is versatile. It can be served warm, at room temperature, or even cold.
Serving: Slice it thick. Serve it with a pat of butter for breakfast. Or pair it with a cup of coffee or tea for an afternoon snack. It goes well with a simple fruit salad or a bowl of yogurt. It’s also great for brunch buffets.
Storage: Store leftovers in an airtight container at room temperature for up to 3 days. For longer storage, wrap it tightly in plastic wrap and foil, then freeze it for up to 3 months. Thaw it overnight in the fridge or at room temperature.
Reheating: To revive the freshness, microwave a slice for 10-15 seconds. Or toast it lightly in a toaster oven. This brings back the moisture and warms the nuts.
The flavors actually develop over the first 24 hours. The bananas continue to infuse the bread, making it taste better on day two than on day one. This is why it’s perfect for meal prep.
Nutritional Information & Benefits
While this is a treat, it does have some nutritional benefits compared to other baked goods.
- Bananas: Rich in potassium and vitamin B6. They provide natural sweetness, reducing the need for added sugar.
- Walnuts: High in omega-3 fatty acids and antioxidants. They add healthy fats and protein.
- Lower Sugar:
One slice (1/10 of the loaf) contains approximately 180 calories. It’s a moderate treat. Enjoy it as part of a balanced diet. It’s not a health food, but it’s not a cheat meal either. It’s just good, honest baking.
Conclusion
This easy one-bowl moist banana bread with walnuts is a staple in my kitchen. It’s simple, forgiving, and delicious. It turns everyday ingredients into something special. I hope you try it and enjoy it as much as I do.
Feel free to customize it with your favorite add-ins. Make it your own. And if you do, I’d love to hear about it. Leave a comment below and let me know how it turned out. Share your photos on social media and tag me. I love seeing your creations.
Happy baking! And remember, those black bananas are a gift, not a curse.
FAQs
Can I use frozen bananas for this recipe?
Yes, frozen bananas work great. Thaw them completely and drain any excess liquid before mashing. The texture will be just as moist, if not more so.
Why is my banana bread dense?
This usually happens if you overmix the batter or use too much flour. Make sure to measure the flour correctly and mix only until combined. Also, ensure your bananas are ripe enough.
Can I make mini banana breads?
Absolutely. Use a muffin tin and fill each cup 2/3 full. Bake for 20-25 minutes at 350°F. They are perfect for portion control and gifting.
How do I know when the bread is done?
Insert a toothpick into the center. If it comes out clean or with a few moist crumbs, it’s done. If it has wet batter, bake for 5 more minutes.
Can I use honey instead of sugar?
You can, but the texture will be slightly denser and moister. Reduce the liquid slightly if needed. Honey browns faster, so watch the top closely.
Pin This Recipe!
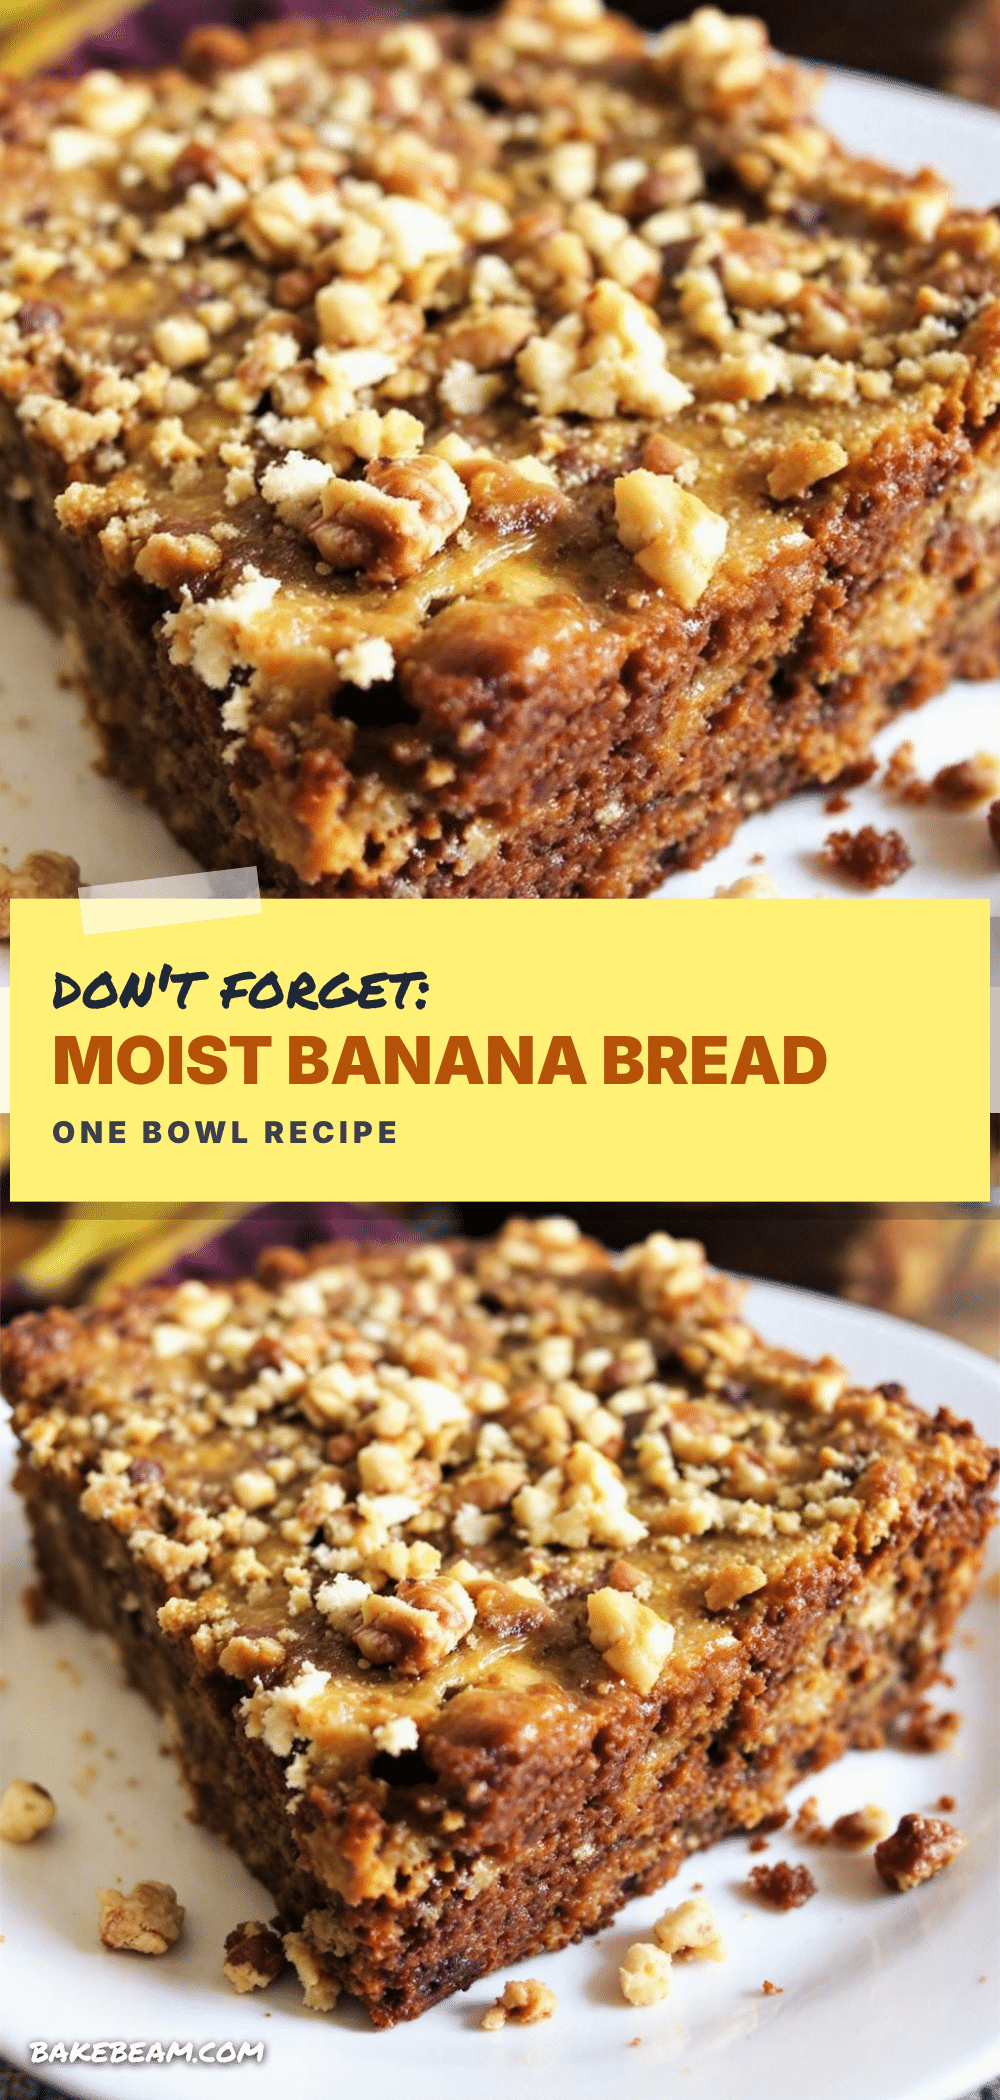
Easy One-Bowl Moist Banana Bread with Walnuts
A simple, forgiving banana bread recipe that uses overripe bananas and walnuts for a moist, tender loaf. Made in just one bowl with minimal equipment, it’s perfect for breakfast or snacks.
- Prep Time: 15 minutes
- Cook Time: 55-65 minutes
- Total Time: 1 hour 10 minutes
- Yield: 10 servings 1x
- Category: Dessert
- Cuisine: American
Ingredients
- 3 to 4 medium ripe bananas (heavily spotted or black)
- 1/2 cup (115g) unsalted butter, melted
- 3/4 cup (150g) granulated sugar
- 2 large eggs, room temperature
- 1 teaspoon pure vanilla extract
- 1 1/2 cups (190g) all-purpose flour
- 1 teaspoon baking soda
- 1/2 teaspoon salt
- 1/2 cup (50g) chopped walnuts
Instructions
- Preheat oven to 350°F (175°C).
- Grease a 9×5 inch loaf pan and line the bottom and sides with parchment paper, leaving an overhang on the sides.
- Peel bananas and mash them in a large mixing bowl with a fork until mostly smooth with a few small chunks (about 1 1/2 cups).
- Add melted butter, sugar, eggs, and vanilla extract to the mashed bananas. Whisk or stir vigorously until well combined and smooth.
- Sprinkle flour, baking soda, and salt over the wet mixture. Gently fold in using a wooden spoon or spatula until the flour just disappears. Do not overmix.
- Fold in chopped walnuts gently until distributed.
- Pour batter into the prepared loaf pan and smooth the top.
- Bake for 55-65 minutes, or until the top is golden brown and a toothpick inserted into the center comes out clean or with a few moist crumbs.
- Let the bread cool in the pan for 10 minutes, then lift out using the parchment paper and transfer to a wire rack to cool completely.
Notes
Use very ripe bananas for maximum sweetness and flavor. Do not overmix the batter to avoid a dense texture. Toasting walnuts beforehand enhances their flavor. If the top browns too quickly, tent with aluminum foil after 30 minutes. Store in an airtight container at room temperature for up to 3 days or freeze for up to 3 months.
Nutrition
- Serving Size: 1 slice (1/10 of the
- Calories: 180
- Sugar: 16
- Sodium: 150
- Fat: 8
- Saturated Fat: 4
- Carbohydrates: 26
- Fiber: 2
- Protein: 3
Keywords: banana bread, walnut bread, one bowl recipe, moist banana bread, easy baking, breakfast bread, meal prep