My buddy Marcus texted at 2 PM on a Saturday. “Game’s at 4. I’m bringing the wings.” And then he added, “But, uh, I forgot I’m hosting.” Classic Marcus. I had a fridge full of chicken wings I’d planned to roast for a quiet dinner, and suddenly the stakes were higher. I needed something fast, finger-licking good, and capable of disappearing before halftime. The only sauce ingredients I had were honey, soy sauce, and a head of garlic that was starting to sprout. So I just started mixing — a glug of honey, a splash of soy, a mountain of minced garlic. It felt like a gamble, honestly. I baked the wings until they were sticky and caramelized, and when Marcus took one bite, he just closed his eyes for a second. That’s when I knew this wasn’t just a last-minute save. These sticky honey garlic chicken wings had a reason to stick around.
There’s something about that combination — the sweet honey catching the heat of the garlic, the soy adding a savory depth that keeps you reaching for more. It’s the kind of recipe that makes you look like you planned it all along. I’ve made these wings for backyard barbecues, quiet Sundays, and of course, every single tailgate since that first frantic afternoon. They’re not complicated, but they taste like they took hours. And honestly, that’s my favorite kind of recipe to share. So let me walk you through how to make these sticky honey garlic chicken wings, because once you do, they’ll be your go-to too.
Why You’ll Love This Recipe
I’ve tested these wings more times than I can count — tweaking the honey-to-garlic ratio, playing with oven temps, and even trying them on the grill. This version is the one that gets requested again and again. Here’s why these sticky honey garlic chicken wings are worth every minute:
- Quick & Easy: From fridge to table in under 45 minutes. No marinating overnight, no complicated steps. Perfect for that last-minute tailgate invite or a weeknight craving.
- Simple Ingredients: You probably have honey, soy sauce, and garlic in your kitchen right now. No specialty grocery runs needed — just pantry staples that come together beautifully.
- Perfect for Tailgates & Parties: These wings hold up well at room temperature, they’re easy to eat with your hands, and they always steal the show. I’ve brought them to potlucks and watched the platter empty in minutes.
- Crowd-Pleaser: Kids love the sticky sweetness, adults appreciate the savory kick. Even picky eaters go back for seconds. I’ve never had leftovers.
- Unbelievably Delicious: The glaze caramelizes into a lacquer-like coating that’s sweet, salty, and garlicky all at once. The texture is crispy on the outside, tender and juicy inside. It’s comfort food at its finest.
What makes these wings different from every other recipe out there? It’s the balance. Most honey garlic wings are either too sweet or too salty. I spent three batches getting the ratio just right — enough honey to coat your fingers, enough garlic to make your kitchen smell incredible, and a splash of soy sauce to keep everything grounded. Plus, I use a simple baking powder trick to get that crispy skin without deep frying. Trust me, it’s a game-changer.
This recipe isn’t just good — it’s the kind that makes you close your eyes after the first bite. It’s comfort food reimagined: faster, simpler, but with the same soul-soothing satisfaction. Perfect for impressing guests without stress, or turning a simple game day into something memorable.
What Ingredients You Will Need
This recipe uses simple, wholesome ingredients to deliver bold flavor and satisfying texture without the fuss. Most of these are pantry staples, so you’re probably already set.
- Chicken wings (2 lbs / 900 g) — I prefer whole wings separated into drums and flats, but you can buy them pre-cut. Pat them very dry with paper towels — this is the secret to crispy skin!
- Honey (1/3 cup / 115 g) — Use a good-quality honey for the best flavor. I like local wildflower honey, but any runny honey works. (Avoid crystallized honey here — it won’t blend smoothly.)
- Soy sauce (1/4 cup / 60 ml) — Regular or low-sodium both work. If you’re gluten-free, swap in tamari or coconut aminos. It adds that savory umami depth that balances the sweetness.
- Garlic (6 cloves, minced) — Fresh garlic is non-negotiable here. Pre-minced jarred garlic won’t give you the same punch. I’ve tried it, and the flavor just isn’t as bright.
- Rice vinegar (1 tablespoon / 15 ml) — A little acidity brightens the glaze and cuts through the richness. Apple cider vinegar works in a pinch.
- Cornstarch (1 tablespoon / 8 g) — This thickens the glaze so it clings to every wing. You can skip it, but the sauce will be thinner and less sticky.
- Baking powder (1 teaspoon / 4 g) — This is my secret weapon for crispy oven-baked wings. It helps dry out the skin and creates tiny bubbles that crisp up beautifully. Make sure it’s aluminum-free to avoid a metallic taste.
- Salt (1 teaspoon / 5 g) — I use kosher salt for even seasoning. Fine table salt works too, but use a little less.
- Black pepper (1/2 teaspoon / 2 g) — Freshly ground is best. It adds a subtle warmth that complements the garlic.
- Sesame seeds and sliced green onions (for garnish) — Totally optional, but they make the wings look restaurant-worthy. Plus, the sesame adds a nice nutty crunch.
Ingredient Selection Tips: Look for chicken wings that are plump and have a good meat-to-skin ratio. I’ve found that organic or air-chilled wings tend to be less watery, which means crispier results. For the honey, avoid “honey-flavored syrups” — they’re often cut with corn syrup and won’t caramelize the same way. If you’re out of rice vinegar, a squeeze of lemon juice works beautifully.
Equipment Needed
You don’t need a fancy kitchen to nail these sticky honey garlic chicken wings. Here’s what I use every time:
- Baking sheet (half-sheet pan) — A rimmed baking sheet catches any drips. I line mine with parchment paper or aluminum foil for easy cleanup. Trust me, you’ll thank yourself later.
- Wire rack — This fits inside your baking sheet and elevates the wings so air circulates all around. It’s the key to even crisping. If you don’t have one, just flip the wings halfway through baking.
- Mixing bowls — One large bowl for tossing the wings with baking powder, and one small bowl for the glaze ingredients.
- Whisk or fork — For mixing the glaze until smooth. A fork works fine if your honey is runny.
- Chef’s knife and cutting board — For mincing garlic and slicing green onions. A garlic press works too, but I prefer the texture of hand-minced.
- Tongs — For flipping the wings and tossing them in the glaze. Silicone-tipped tongs won’t scratch your pans.
- Small saucepan (optional) — If you want to simmer the glaze to thicken it before tossing. I usually skip this step and just whisk it cold.
Budget-Friendly Tip: If you don’t have a wire rack, you can crumple up aluminum foil into snake-like coils and place the wings on top. It’s not as pretty, but it works! I’ve done it in a pinch and the wings still came out perfectly crispy.
Preparation Method
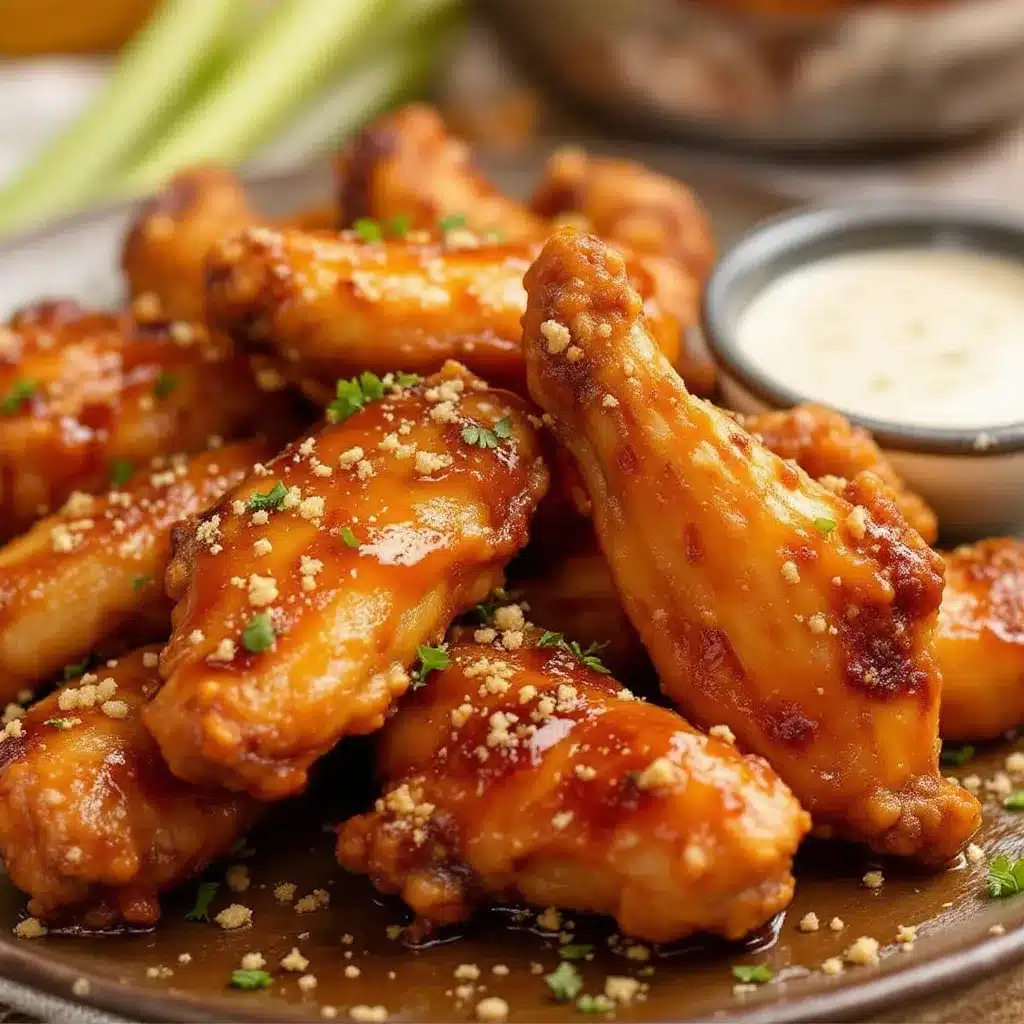
- Preheat your oven to 425°F (220°C). Position the rack in the middle of the oven. While it heats, line your baking sheet with foil and place a wire rack on top. This setup is crucial for crispy wings.
- Prep the wings. Pat the chicken wings completely dry with paper towels. This step is non-negotiable — moisture is the enemy of crispy skin. If you have time, let them sit uncovered in the fridge for 30 minutes to dry out further. I’ve done this, and the difference is noticeable.
- Season the wings. In a large bowl, combine the baking powder, salt, and pepper. Add the wings and toss until every piece is evenly coated. The baking powder will look a little dusty, but don’t worry — it disappears during baking. Wash your hands thoroughly after handling raw chicken.
- Arrange the wings. Place the wings in a single layer on the wire rack, skin-side up. Make sure they’re not touching — overcrowding steams them instead of crisping them. If you need to, use two baking sheets.
- Bake for 40-45 minutes. Bake for 20 minutes, then flip each wing with tongs and bake for another 20-25 minutes. The wings should be golden brown and the skin should look crackly. For extra crispiness, broil for 2-3 minutes at the end — watch closely so they don’t burn!
- Make the glaze while the wings bake. In a small bowl, whisk together the honey, soy sauce, minced garlic, rice vinegar, and cornstarch until smooth. The cornstarch might settle, so give it a quick whisk right before using. If you prefer a thicker glaze, simmer it in a small saucepan over medium heat for 2-3 minutes until it bubbles and thickens.
- Toss the wings in glaze. Transfer the hot wings to a large bowl. Pour the glaze over them and toss with tongs until every wing is coated. The heat from the wings will help the glaze cling and caramelize further. Don’t let them sit too long — you want to serve them right away while they’re sticky and warm.
- Garnish and serve. Transfer the glazed wings to a serving platter. Sprinkle with sesame seeds and sliced green onions if you’re using them. Serve immediately, with plenty of napkins on hand!
Sensory Cues: At the 20-minute mark, your kitchen should smell like roasted chicken with a hint of garlic. When you flip them, the skin should look dry and starting to brown. After 40 minutes, the wings should be deep golden with a visible crackle on the skin. When you toss them in the glaze, you’ll hear a satisfying sizzle — that’s the honey hitting the hot wings and creating that sticky coating.
Cooking Tips & Techniques
I’ve made these sticky honey garlic chicken wings at least a dozen times, and I’ve learned a few things the hard way. Here are my best tips:
- Don’t skip the drying step. I once rushed through patting the wings dry, and the skin turned out flabby instead of crispy. Moisture creates steam, and steam prevents browning. Take the extra minute to really dry them.
- Baking powder is not baking soda. They look similar, but they’re not interchangeable. Baking powder raises the pH of the skin, which helps it brown faster and become crispier. Baking soda will leave a bitter, metallic taste. I learned this the hard way — once was enough!
- Flip halfway through, but don’t fuss. Opening the oven too often lets heat escape and extends cooking time. Just flip once at the 20-minute mark and leave them alone. Trust the process.
- Glaze at the last minute. If you glaze the wings too early, the honey will burn in the oven. Always toss them in the glaze after they’re fully baked. The residual heat will melt the honey and create that perfect sticky coating.
- Use a rimmed baking sheet. The glaze can drip and caramelize on the pan. A rimmed sheet catches everything and makes cleanup easier. I line mine with foil for zero scrubbing.
- Double the glaze if you’re a sauced person. I always make an extra half-batch of glaze for people who want extra on the side. Just simmer it for a few minutes to thicken, and serve it in a small bowl for dipping.
One time, I forgot to add the cornstarch to the glaze. The sauce was thin and ran right off the wings. It still tasted good, but it wasn’t that luscious, sticky coating we all love. Don’t skip the cornstarch — it makes the glaze cling like a dream.
Variations & Adaptations
These sticky honey garlic chicken wings are wonderfully adaptable. Here are a few ways to switch things up:
- Spicy Honey Garlic Wings: Add 1-2 teaspoons of sriracha or red pepper flakes to the glaze for a sweet-heat combo that’s addictive. I made this version for a friend who loves heat, and she said it was the best wing she’d ever had.
- Air Fryer Method: Cook the seasoned wings in an air fryer at 400°F (200°C) for 20-25 minutes, shaking the basket halfway through. Toss with glaze and air fry for another 2 minutes. The wings come out extra crispy with less oil. I’ve tested this and the texture is incredible.
- Grilled Version: Grill the wings over medium-high heat for 12-15 minutes, turning occasionally, until charred and cooked through. Brush with glaze during the last 5 minutes of grilling. The smoky flavor pairs beautifully with the sweet honey garlic.
- Gluten-Free Option: Use tamari or coconut aminos instead of soy sauce. Make sure your baking powder is gluten-free (most are, but double-check the label). Everything else is naturally gluten-free.
- Keto-Friendly: Swap the honey for a sugar-free honey substitute or use monk fruit sweetener. The texture will be slightly different, but the flavor is still fantastic. I’ve made this for a keto friend and she cleaned the platter.
- Lemon Garlic Twist: Add the zest of one lemon and a tablespoon of lemon juice to the glaze. The citrus cuts through the richness and adds a bright, fresh note. I tried this on a whim and now it’s my second favorite version.
My personal favorite variation? I add a teaspoon of grated fresh ginger to the glaze. It adds a warm, zippy undertone that makes the wings taste even more complex. Give it a try — you won’t regret it.
Serving & Storage Suggestions
These sticky honey garlic chicken wings are best served hot and fresh, right after you toss them in the glaze. Here’s how to make the most of them:
- Serving Temperature: Serve them immediately while the glaze is still sticky and warm. They’re also fantastic at room temperature, which makes them perfect for tailgates and parties. I’ve brought them to potlucks and they’re always a hit even after sitting out for an hour.
- Presentation: Arrange the wings on a large platter in a single layer — don’t pile them, or the glaze will pool at the bottom. Garnish with sesame seeds, sliced green onions, and a few lemon wedges for color. Add a small bowl of extra glaze on the side for dippers.
- What to Serve With: These wings pair beautifully with crunchy celery and carrot sticks, a side of creamy ranch or blue cheese dressing, and a cold beer or a refreshing cucumber mint green tea cooler for a non-alcoholic option. For a full tailgate spread, add some Mediterranean chickpea and feta stuffed mini peppers for a lighter bite.
- Storage: Store leftover wings in an airtight container in the refrigerator for up to 4 days. The glaze will harden slightly, but they’re still delicious cold or reheated. I actually love eating them cold straight from the fridge — the glaze gets chewy and even more flavorful.
- Reheating: For best results, reheat wings in a 350°F (175°C) oven for 10-12 minutes, or until heated through and the skin crisps up again. You can also reheat them in an air fryer at 350°F for 5-7 minutes. Avoid the microwave — it makes the skin soggy and the glaze turns rubbery.
- Freezing: You can freeze the baked, unglazed wings for up to 3 months. Let them cool completely, then freeze in a single layer on a baking sheet. Transfer to a freezer bag once frozen. When you’re ready to serve, reheat them in the oven and toss with fresh glaze. The texture stays surprisingly good.
Flavor Development Note: If you store the glazed wings overnight, the flavors meld together even more. The garlic mellows out and the honey soaks into the meat. I’ve made these a day ahead for a party, and honestly, they were even better the next day.
Nutritional Information & Benefits
Here’s an approximate nutritional breakdown for a serving of 4-5 wings (about 1/4 of the recipe):
- Calories: 380
- Protein: 26g
- Fat: 18g
- Carbohydrates: 28g
- Sugar: 24g
- Sodium: 780mg
Health Benefits: Chicken wings are a good source of protein, which helps keep you full and supports muscle health. Garlic is known for its immune-boosting properties and adds a punch of flavor without extra calories. Honey provides natural sweetness and contains antioxidants that can help reduce inflammation. While these wings are indulgent, they’re made with whole ingredients and no artificial additives. If you’re watching your sugar intake, you can reduce the honey slightly or use a sugar-free alternative.
Dietary Considerations: This recipe is naturally dairy-free and nut-free. For a gluten-free version, simply swap the soy sauce for tamari. For a lower-carb option, use a sugar-free honey substitute. The wings are also Whole30-compatible if you use coconut aminos instead of soy sauce and omit the honey (use a date syrup instead).
Personal Wellness Perspective: I believe in balance. These wings are a treat, not an everyday meal, and that’s okay. Cooking them at home means you control the ingredients — no weird preservatives or excessive sodium. Plus, the joy of sharing a platter of sticky wings with friends is a form of self-care in itself.
FAQs
Can I use frozen wings for this recipe?
Yes, but you need to thaw them completely first. Pat them very dry after thawing, as frozen wings release a lot of moisture. I recommend thawing them in the refrigerator overnight for best results. Never cook wings from frozen — the skin won’t crisp properly.
Why are my wings not crispy?
The most common culprit is moisture. Make sure you pat the wings very dry before seasoning. Also, don’t overcrowd the baking sheet — the wings need space for air to circulate. Finally, check that your oven is fully preheated to 425°F (220°C). A hot oven is essential for crispy skin.
Can I make these wings in advance?
Absolutely! You can bake the wings (without glaze) up to 2 days ahead. Store them in the refrigerator, then reheat in a 350°F oven for 10 minutes before tossing with the glaze. I’ve done this for parties and it saves so much stress on game day.
How do I make the glaze thicker?
Increase the cornstarch to 2 tablespoons, or simmer the glaze in a small saucepan over medium heat for 2-3 minutes until it thickens. Stir constantly to prevent burning. The glaze will also thicken slightly as it cools.
Can I use chicken drumsticks or thighs instead of wings?
Yes! This glaze works beautifully on drumsticks, thighs, or even chicken breasts. Adjust cooking time based on the cut — drumsticks take about 35-40 minutes, thighs take 25-30 minutes, and breasts take 20-25 minutes. Always check that the internal temperature reaches 165°F (74°C).
Conclusion
These sticky honey garlic chicken wings are everything you want in a tailgate recipe — quick to make, packed with flavor, and impossible to stop eating. They’ve bailed me out of last-minute party situations more times than I can count, and they never fail to impress. The combination of sweet honey, savory soy, and punchy garlic is a classic for a reason, and with my crispy baking trick, you get that perfect texture without the mess of deep frying.
I hope you make these wings your own. Adjust the heat, swap in different garnishes, or double the glaze for extra sauciness. That’s the beauty of cooking — you get to make it yours. If you try this recipe, I’d love to hear how it turned out. Drop a comment below, share a photo, or tag me in your wing creations. And if you’re looking for more game-day inspiration, check out our full collection of recipes — there’s something for every kind of fan.
Now go on, get sticky. And don’t forget the napkins.
Pin This Recipe!
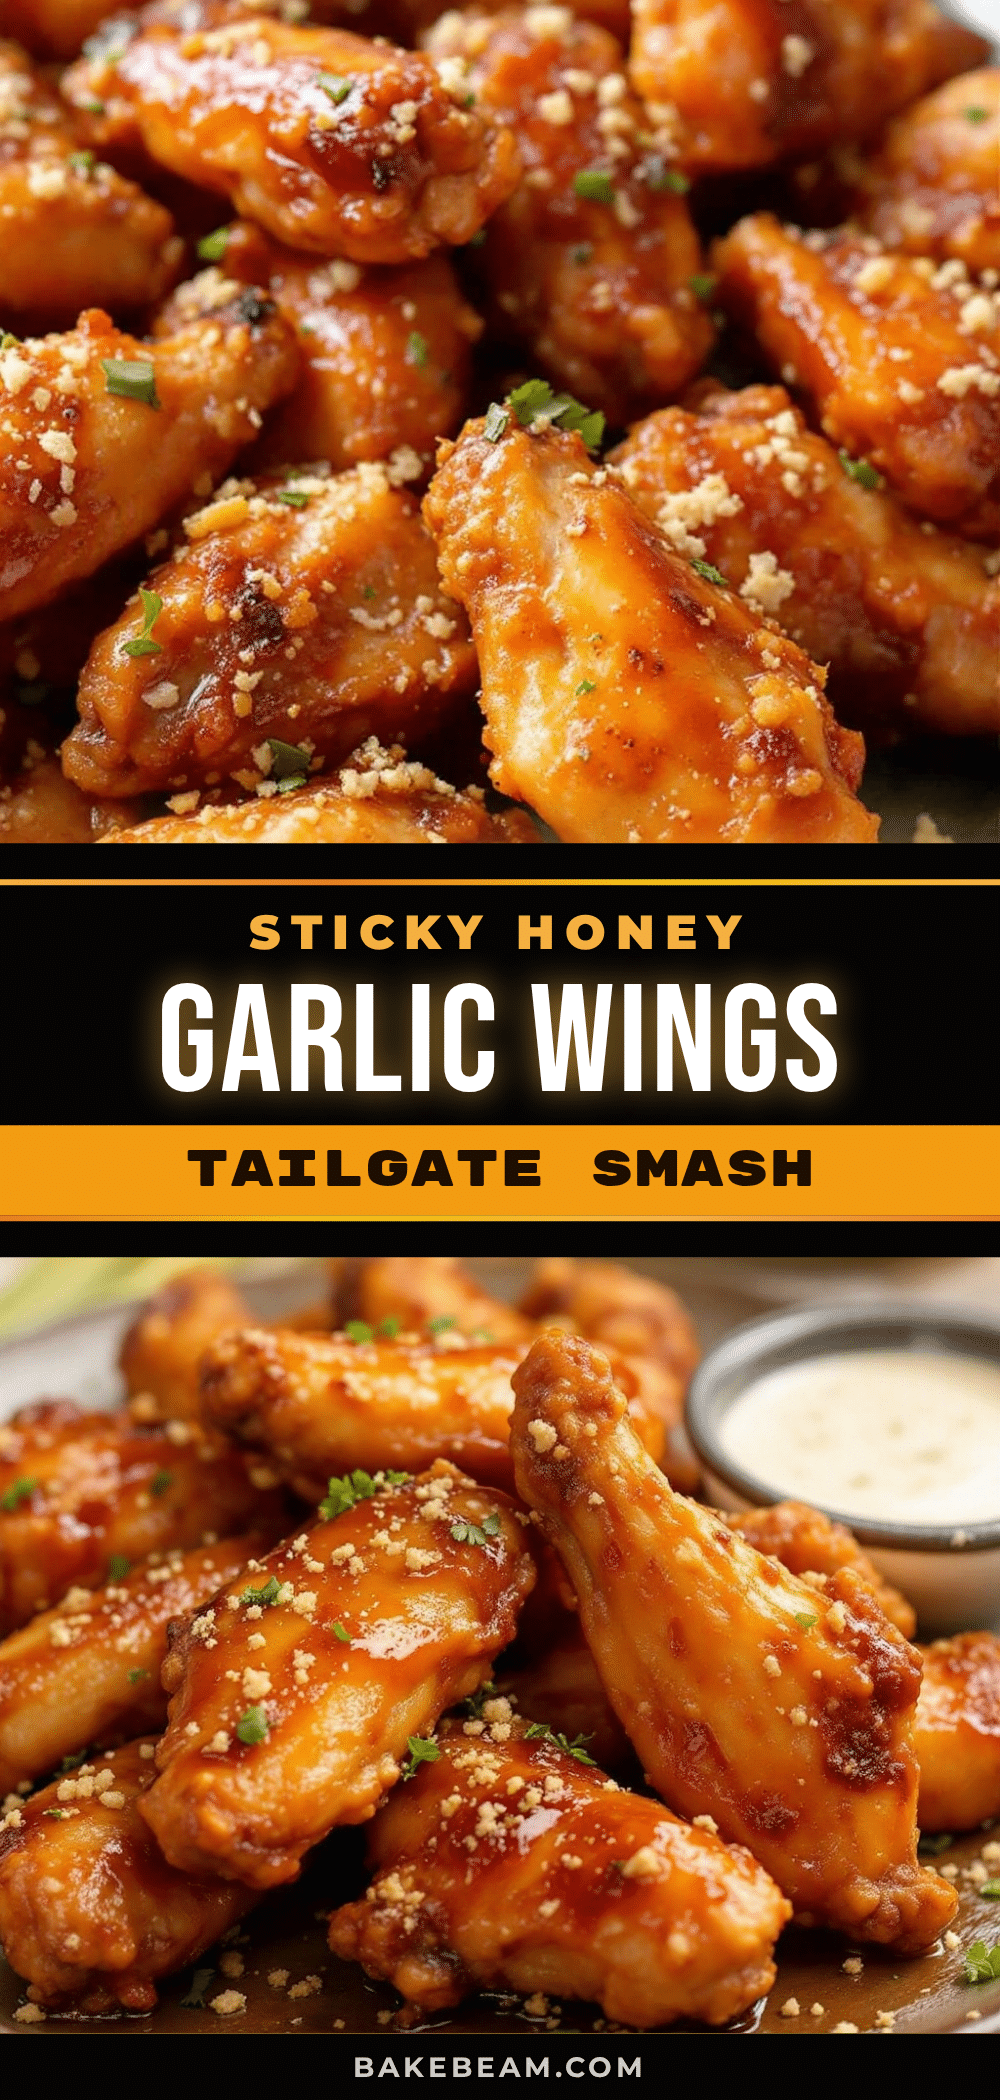
Easy Sticky Honey Garlic Chicken Wings for Tailgate Parties

These sticky honey garlic chicken wings are quick to make, packed with flavor, and impossible to stop eating. Perfect for tailgates, parties, or a weeknight craving, they feature a sweet and savory glaze with crispy oven-baked skin.
- Prep Time: 15 minutes
- Cook Time: 45 minutes
- Total Time: 1 hour
- Yield: 4 servings 1x
- Category: Appetizer
- Cuisine: American
Ingredients
- 2 lbs (900 g) chicken wings, separated into drums and flats
- 1/3 cup (115 g) honey
- 1/4 cup (60 ml) soy sauce (or tamari for gluten-free)
- 6 cloves garlic, minced
- 1 tablespoon (15 ml) rice vinegar
- 1 tablespoon (8 g) cornstarch
- 1 teaspoon (4 g) baking powder (aluminum-free)
- 1 teaspoon (5 g) kosher salt
- 1/2 teaspoon (2 g) black pepper, freshly ground
- Sesame seeds and sliced green onions for garnish (optional)
Instructions
- Preheat your oven to 425°F (220°C). Line a baking sheet with foil and place a wire rack on top.
- Pat the chicken wings completely dry with paper towels.
- In a large bowl, combine baking powder, salt, and pepper. Add the wings and toss until evenly coated.
- Arrange the wings in a single layer on the wire rack, skin-side up, making sure they are not touching.
- Bake for 20 minutes, then flip each wing with tongs and bake for another 20-25 minutes until golden brown and crispy. For extra crispiness, broil for 2-3 minutes at the end.
- While the wings bake, make the glaze: In a small bowl, whisk together honey, soy sauce, minced garlic, rice vinegar, and cornstarch until smooth.
- Transfer the hot wings to a large bowl. Pour the glaze over them and toss with tongs until every wing is coated.
- Garnish with sesame seeds and sliced green onions if desired. Serve immediately.
Notes
Pat wings very dry for crispy skin. Do not skip the cornstarch in the glaze—it helps the sauce cling. For extra crispiness, let the seasoned wings sit uncovered in the fridge for 30 minutes before baking. Double the glaze if you like extra sauce.
Nutrition
- Serving Size: 4-5 wings
- Calories: 380
- Sugar: 24
- Sodium: 780
- Fat: 18
- Saturated Fat: 5
- Carbohydrates: 28
- Protein: 26
Keywords: sticky honey garlic chicken wings, tailgate wings, oven baked wings, honey garlic wings, game day appetizer