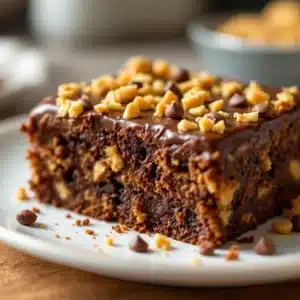
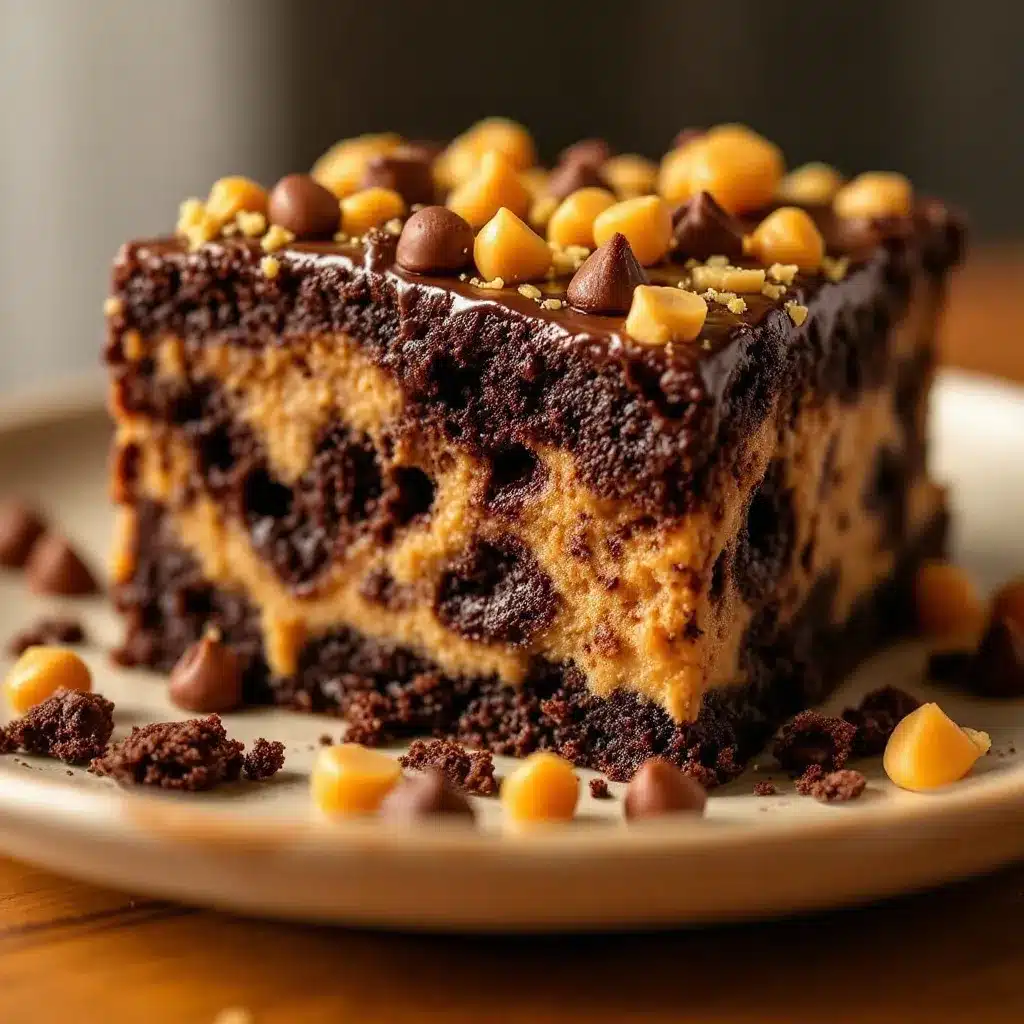
The fork went in without any resistance. That first bite—chocolate cake so moist it practically melted, peanut butter filling oozing through every single hole, and a glossy ganache shell on top with mini Reese’s cups scattered like treasure. My brother-in-law, who rarely says much about dessert, looked up mid-chew and just pointed at the pan. That was all the review I needed.
I didn’t set out to make the ultimate Reeses poke cake that day. I had a box of chocolate cake mix, a jar of peanut butter that was nearly empty, and a bag of mini Reese’s cups leftover from a party. Honestly, I was just trying to use stuff up. But when I poured that warm sweetened condensed milk and peanut butter mixture over the hot cake and watched it sink into every fork-tine-sized hole, I knew something good was happening. Then the ganache went on, and the mini cups got sprinkled on top, and suddenly I had a dessert that disappeared faster than the game-day snacks on the coffee table.
There’s something about a poke cake that just works. You don’t need fancy techniques or stand mixers. You just need a fork, a willing attitude, and the patience to let that filling soak all the way in. This one has become my go-to for everything from football Sundays to last-minute potlucks. It’s the kind of dessert people text you about the next morning. And the best part? It comes together in about 30 minutes of actual work.
Let me show you how it’s done.
Why You’ll Love This Recipe
I’ve tested this Reeses poke cake about seven times now. Seven times. My neighbors have become very willing taste-testers, and my husband has started asking if “research” is happening again this weekend. Here’s why this version keeps winning:
- Quick & Easy: Thirty minutes of hands-on time, and you’re done. The hardest part is waiting for it to chill.
- Simple Ingredients: A boxed cake mix does the heavy lifting here. No shame in that game. You likely have most of this in your pantry right now.
- Perfect for Game Day: This cake travels well, feeds a crowd, and pairs beautifully with all your savory snacks. It’s the sweet ending your loaded nacho charcuterie board has been waiting for.
- Crowd-Pleaser: Kids devour it. Adults sneak seconds. I’ve watched people who “don’t really like cake” go back for thirds.
- Unbelievably Delicious: The texture is what gets you. That soaked-in peanut butter filling makes every single bite ultra-moist and rich without being heavy.
What makes this different from other poke cakes? It’s the ratio. Most recipes skimp on the filling or use too much milk. I spent three batches getting the sweetened condensed milk and peanut butter balance just right—enough to soak through without making the cake soggy. And the ganache? Two types of chocolate. Semi-sweet for depth, milk chocolate for that creamy Reese’s vibe. Trust me on this one.
This isn’t just another chocolate cake. It’s the one that makes people close their eyes after the first bite. It’s comfort food at its finest—fast, forgiving, and absolutely unforgettable.
What Ingredients You Will Need
This recipe relies on a handful of everyday ingredients to create something that tastes anything but ordinary. Most of these are pantry staples, which makes this the perfect last-minute dessert.
For the Cake Base
- 1 box (15.25 oz) chocolate cake mix (I prefer Duncan Hines Devil’s Food or Betty Crocker Super Moist—both give a tender crumb)
- Ingredients called for on the box (usually eggs, oil, and water—check your specific brand)
For the Peanut Butter Filling
- 1 can (14 oz) sweetened condensed milk (full-fat is best here—light versions don’t set up as well)
- 1/2 cup creamy peanut butter (I use Jif or Skippy for consistency, but any brand works as long as it’s not the natural kind that separates)
- 1 teaspoon vanilla extract (adds warmth and rounds out the peanut butter flavor)
For the Chocolate Ganache
- 1/2 cup semi-sweet chocolate chips (I like Ghirardelli or Guittard for that rich, smooth melt)
- 1/2 cup milk chocolate chips (this is the secret to getting that Reese’s-like sweetness)
- 1/2 cup heavy cream (don’t substitute half-and-half here—the fat content matters for the right consistency)
For the Topping
- 1 cup mini Reese’s cups, halved or roughly chopped (you can use regular-size cups too, just chop them into bite-sized pieces)
- 2 tablespoons creamy peanut butter (for drizzling—optional but highly recommended)
A quick note on peanut butter: stick with the standard processed kind for this recipe. Natural peanut butters that separate and need stirring can make the filling grainy or oily. If that’s all you have, whisk it really well before using, and expect a slightly different texture.
For the chocolate chips, I’ve tested this with all semi-sweet and all milk chocolate. The combo version is genuinely better. The semi-sweet keeps it from being cloying, while the milk chocolate gives that creamy, nostalgic candy-bar taste. Don’t skip the mix.
Equipment Needed
Nothing fancy here. That’s the beauty of this recipe.
- 9×13-inch baking pan (metal or glass both work—just adjust baking time slightly for glass)
- Cooking spray or butter (for greasing the pan)
- Mixing bowls (one for the cake batter, one for the filling, one for the ganache)
- Whisk or electric mixer (hand whisk is fine for the cake mix, but an electric mixer makes it faster)
- Wooden spoon or spatula (for stirring the filling)
- Fork or wooden skewer (for poking the holes—a fork is easiest and gives you consistent holes)
- Small saucepan (for the ganache—or you can use a microwave-safe bowl)
- Liquid measuring cup (for the heavy cream)
- Measuring spoons (for vanilla and peanut butter)
- Wire cooling rack (optional but helpful for even cooling)
If you don’t have a 9×13 pan, you could use two 8×8 pans and adjust the baking time down by about 5 minutes. Just keep an eye on them. And if you don’t have a saucepan for the ganache, the microwave method works perfectly—just heat in 30-second bursts, stirring between each.
Preparation Method
Step 1: Bake the Cake
Preheat your oven to 350°F (175°C). Grease your 9×13-inch pan well—I use cooking spray, but butter works too. Prepare the chocolate cake mix according to the package directions. Usually that means mixing the cake mix with eggs, oil, and water until smooth.
Pour the batter into the prepared pan and spread it evenly. Bake for 28-33 minutes, or until a toothpick inserted in the center comes out clean or with a few moist crumbs. Every oven runs a little different, so start checking at 28 minutes.
Let the cake cool in the pan for about 10 minutes. You want it still warm but not hot enough to burn your fingers when you poke the holes.
Step 2: Poke the Holes
This is the fun part. Grab a fork—a dinner fork works great—and poke holes all over the warm cake. Space them about 1/2 inch apart. Don’t be shy. You want holes that go almost all the way to the bottom of the cake, not just surface dents.
If the fork sticks, dip it in water between pokes. This keeps the cake from tearing up too much. You should end up with a cake that looks like it’s been through a friendly attack—lots of holes, but the cake is still holding together.
Step 3: Make the Peanut Butter Filling
While the cake is baking, make the filling. In a medium bowl, whisk together the sweetened condensed milk, creamy peanut butter, and vanilla extract. Warm the mixture slightly—either in the microwave for 20-30 seconds or in a small saucepan over low heat—just until it’s thin enough to pour easily.
Whisk until smooth. The peanut butter should be fully incorporated with no streaks. Taste it. Yes, it’s that good. Try not to eat it all before it goes on the cake.
Step 4: Pour the Filling
Slowly pour the warm peanut butter mixture over the entire surface of the poked cake. Use a spatula to spread it evenly if needed. Make sure it gets into all those holes—sometimes I tilt the pan gently to help the filling find its way.
Let the cake sit for 10-15 minutes so the filling can fully absorb. You’ll see the surface start to look slightly drier as the cake drinks up that peanut butter goodness.
Then transfer the cake to the refrigerator and chill for at least 1 hour. This step is important—the filling needs time to set so the ganache doesn’t just slide right off.
Step 5: Make the Ganache
After the cake has chilled, make the ganache. Place both types of chocolate chips in a heat-safe bowl. Heat the heavy cream in a small saucepan over medium heat until it just starts to simmer—small bubbles around the edge, not a full boil.
Pour the hot cream over the chocolate chips and let it sit for 2-3 minutes without stirring. Then gently whisk until smooth and glossy. Start in the center and work your way outward. If the chocolate doesn’t fully melt, microwave in 10-second bursts, stirring between each.
Step 6: Assemble the Cake
Pour the ganache over the chilled cake. Use a spatula to spread it evenly to the edges. While the ganache is still wet, sprinkle the halved mini Reese’s cups all over the top. Press them in gently so they stick.
If you want that extra peanut butter drizzle, warm 2 tablespoons of peanut butter in the microwave for 15-20 seconds and drizzle it over the top in zigzag patterns. A fork works great for this—dip and wave.
Step 7: Chill and Serve
Return the cake to the refrigerator for at least 2 hours, or until the ganache is firm. Overnight is even better—the flavors meld and the texture gets even more incredible.
When you’re ready to serve, let the cake sit at room temperature for about 10 minutes before cutting. This makes slicing cleaner. Use a sharp knife and wipe it between cuts for those picture-perfect squares.
Cooking Tips & Techniques
I’ve made a lot of mistakes with poke cakes so you don’t have to. Here’s what I’ve learned:
Don’t overbake the cake. A slightly underbaked cake absorbs the filling better than a dry one. Pull it when a toothpick comes out with a few moist crumbs, not completely clean. The residual heat will finish the cooking while you poke the holes.
Poke while warm. If the cake cools completely, the holes won’t hold their shape as well, and the filling won’t soak in as deeply. That 10-minute cooling window is your sweet spot.
Let the filling soak. Don’t rush the chilling step. That hour in the fridge isn’t optional—it’s what transforms a good cake into an incredible one. The filling needs time to redistribute and settle into every nook and cranny.
Ganache temperature matters. If your ganache is too hot when you pour it, it will melt the filling and create a muddy mess. Let it cool for 5 minutes after whisking, or until it’s warm but not hot to the touch. It should still be pourable but not steaming.
Use a serrated knife for clean slices. A sharp serrated knife cuts through the ganache without dragging it. I learned this the hard way after several sad, smeared slices.
Multitask strategically. While the cake bakes, make the filling. While the cake chills after poking, clean up your dishes. This recipe flows nicely if you plan ahead a little.
Variations & Adaptations
This Reeses poke cake is endlessly adaptable. Here are a few ways I’ve played with it:
Peanut Butter Lover’s Version
Add 1/2 cup of peanut butter chips to the cake batter before baking. Also, use chunky peanut butter in the filling for little bits of peanut in every bite. My husband requests this version every single time.
Chocolate Overload
Use a dark chocolate cake mix instead of regular chocolate. Add 1/2 cup of chocolate chips to the ganache (use all semi-sweet, no milk chocolate). Top with chocolate shavings alongside the Reese’s cups. This one is dangerously rich.
Gluten-Free Option
Use a gluten-free chocolate cake mix. Most brands work well—just follow the package instructions carefully. The filling and ganache are naturally gluten-free, so you’re good there. King Arthur Flour makes an excellent gluten-free chocolate cake mix if you can find it.
Low-Sugar Version
Use a sugar-free chocolate cake mix. For the filling, use a sugar-free sweetened condensed milk (it exists! I’ve found it at Walmart) and natural peanut butter with no added sugar. The ganache works with sugar-free chocolate chips, though the texture will be slightly different. This version is perfect if you’re watching your sugar intake but still want dessert.
Birthday Cake Twist
Swap the chocolate cake mix for vanilla or yellow cake mix. Keep everything else the same. The peanut butter filling and chocolate ganache work surprisingly well with a vanilla base. Top with colorful sprinkles for a festive look. I made this for my niece’s birthday and it was gone in 20 minutes.
Serving & Storage Suggestions
This cake is best served cold or at room temperature. I actually prefer it straight from the fridge—the filling firms up nicely and the ganache has a satisfying snap when you bite into it.
For serving, cut into 12-16 squares depending on how generous you’re feeling. A dollop of whipped cream on top is never a bad idea. If you’re serving this alongside other desserts, smaller squares work better—this cake is rich.
It pairs beautifully with a cold glass of milk or a hot cup of coffee. For game day, set it out next to your creamy buffalo chicken ranch dip for the ultimate sweet-and-savory spread. The contrast is incredible.
Storage: Cover the pan tightly with plastic wrap or foil and refrigerate for up to 5 days. The cake actually gets better on day 2—the flavors meld and the texture becomes even more fudgy. I’ve never had it last longer than 3 days in my house, but theoretically it keeps well.
Freezing: This cake freezes beautifully. Wrap the entire pan (or individual squares) in plastic wrap, then foil, and freeze for up to 3 months. Thaw overnight in the refrigerator before serving. The ganache might lose a little shine, but the taste is still incredible.
Reheating: If you prefer your cake warm, microwave individual slices for 10-15 seconds. The ganache gets slightly melty and the filling becomes gooey again. Just don’t overdo it, or the ganache will slide right off.
Nutritional Information & Benefits
Let’s be real—this is a dessert, not a health food. But here’s what you’re looking at per serving (based on 16 servings):
- Calories: Approximately 380-420
- Fat: 22g
- Carbohydrates: 45g
- Protein: 8g
- Sugar: 32g
On the bright side, peanut butter does bring some protein and healthy fats to the table. Chocolate (especially dark chocolate) contains antioxidants. And honestly? Sometimes the best thing you can do for your mental health is eat a really good piece of cake with zero guilt.
This recipe contains dairy, gluten, peanuts, and soy (from the chocolate). If you have allergies, check the ingredient labels carefully—especially the cake mix and chocolate chips. The gluten-free variation I mentioned earlier is a great workaround for those avoiding wheat.
I’m not a nutritionist, and I don’t pretend to be one. What I can tell you is that this cake brings people together, makes them smile, and leaves them asking for the recipe. That’s a pretty good nutritional profile in my book.
Conclusion
This ultimate Reeses poke cake is the dessert you’ll reach for again and again. It’s quick enough for a Tuesday night, impressive enough for a party, and forgiving enough for beginner bakers. The combination of moist chocolate cake, creamy peanut butter filling, and silky ganache is genuinely hard to beat.
What I love most about this recipe is how it brings people to the kitchen. Every time I make it, someone wanders in, asks what smells so good, and ends up standing there with a fork, waiting for me to cut the first piece. It’s that kind of cake—the kind that creates moments.
I hope you make this and love it as much as I do. Maybe you’ll add a twist of your own—extra peanut butter, a sprinkle of sea salt, a different candy bar on top. That’s the beauty of a good base recipe. It’s a starting point, not a rulebook.
If you try this recipe, I’d love to hear about it. Drop a comment below and let me know how it turned out, what variations you tried, or just share your favorite game-day dessert story. And if you’re looking for more easy crowd-pleasers, don’t miss my easy no-bake banana pudding icebox cake—it’s another 5-minute wonder that disappears just as fast.
Happy baking, friends. Go make something delicious.
Frequently Asked Questions
Can I use a homemade chocolate cake instead of a box mix?
Absolutely. Any chocolate cake recipe that fits a 9×13 pan will work here. Just make sure it’s not too dense—lighter, fluffier cakes absorb the filling better. My favorite homemade version uses buttermilk and cocoa powder for extra tenderness.
Do I have to use sweetened condensed milk?
Yes, for this particular recipe. Sweetened condensed milk has the right thickness and sweetness to create that signature poke cake texture. Regular milk is too thin and won’t set properly. If you’re dairy-free, there are canned coconut-based sweetened condensed milk alternatives that work well.
Can I make this cake ahead of time?
This is actually one of those desserts that benefits from being made ahead. I often make it the day before I need it. The filling has more time to distribute evenly, and the flavors get deeper. Just keep it covered in the fridge until you’re ready to serve.
Why did my ganache turn out grainy?
Grainy ganache usually happens for one of two reasons: the cream was too hot and scorched the chocolate, or moisture got into the chocolate (from a wet bowl or spoon). To fix it, try whisking in a tablespoon of warm cream at a time until it smooths out. If that doesn’t work, strain it through a fine-mesh sieve.
Can I use crunchy peanut butter instead of creamy?
You can, but the texture will be different. The crunchy bits don’t dissolve into the filling, so you’ll get little peanut pieces in every bite. Some people love this. If you’re serving a crowd with kids, creamy tends to be more universally loved. For a game-day crowd, crunchy adds a nice texture contrast alongside your easy crispy bacon-wrapped jalapeno poppers.
Pin This Recipe!
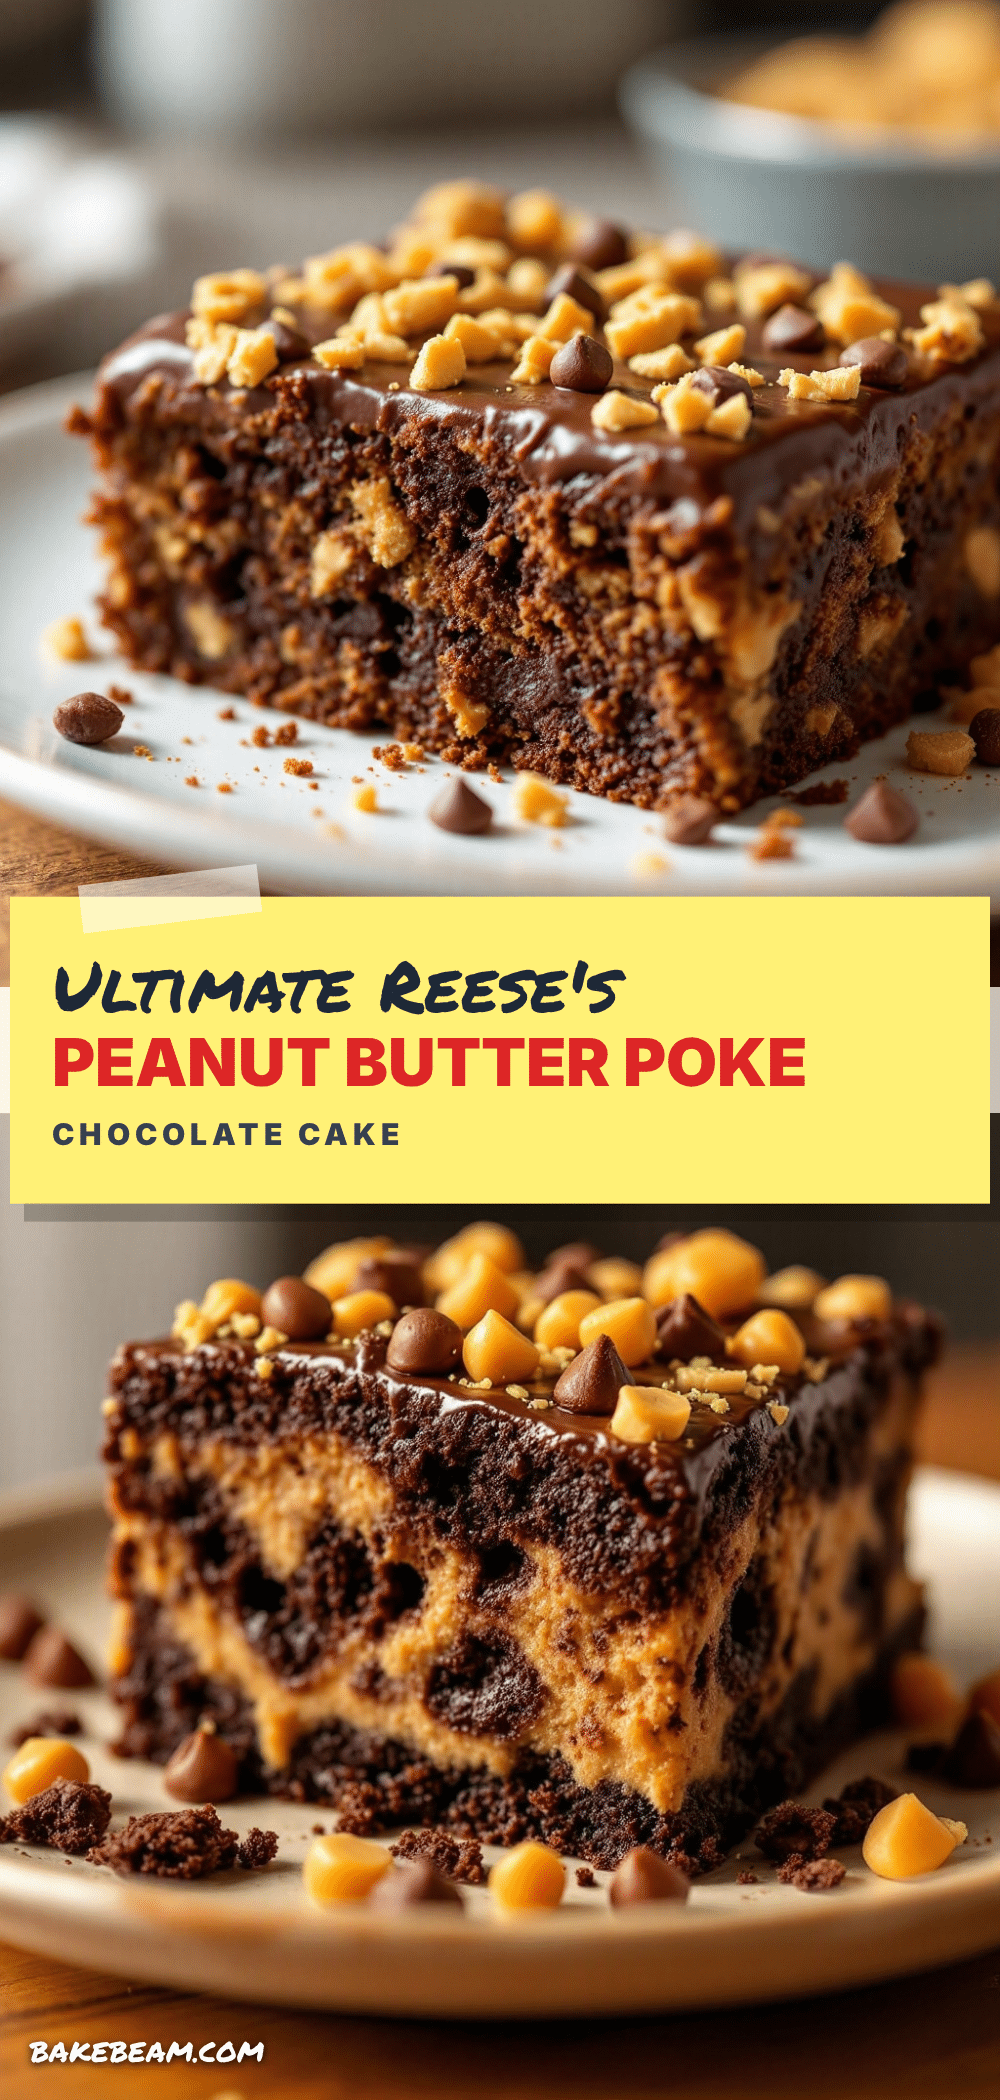
Best Ultimate Reeses Poke Cake: Easy 30-Minute Recipe
A moist chocolate poke cake soaked with a creamy peanut butter filling, topped with a silky chocolate ganache and mini Reese’s cups. This easy 30-minute recipe is perfect for game day, potlucks, or any occasion where you need a crowd-pleasing dessert.
- Prep Time: 15 minutes
- Cook Time: 30 minutes
- Total Time: 45 minutes
- Yield: 16 servings 1x
- Category: Dessert
- Cuisine: American
Ingredients
- 1 box (15.25 oz) chocolate cake mix (preferably Duncan Hines Devil’s Food or Betty Crocker Super Moist)
- Ingredients called for on the box (eggs, oil, water)
- 1 can (14 oz) sweetened condensed milk (full-fat)
- 1/2 cup creamy peanut butter (e.g., Jif or Skippy)
- 1 teaspoon vanilla extract
- 1/2 cup semi-sweet chocolate chips
- 1/2 cup milk chocolate chips
- 1/2 cup heavy cream
- 1 cup mini Reese’s cups, halved or roughly chopped
- 2 tablespoons creamy peanut butter (for drizzling, optional)
Instructions
- Preheat oven to 350°F (175°C). Grease a 9×13-inch baking pan.
- Prepare the chocolate cake mix according to package directions. Pour batter into prepared pan and spread evenly.
- Bake for 28-33 minutes, or until a toothpick inserted in the center comes out clean or with a few moist crumbs. Let cool in pan for 10 minutes.
- Using a fork, poke holes all over the warm cake, spacing them about 1/2 inch apart and going almost to the bottom of the cake.
- In a medium bowl, whisk together sweetened condensed milk, 1/2 cup creamy peanut butter, and vanilla extract. Warm slightly (microwave 20-30 seconds or in a small saucepan over low heat) until thin enough to pour.
- Slowly pour the warm peanut butter mixture over the poked cake, spreading evenly with a spatula. Let sit 10-15 minutes to absorb.
- Refrigerate cake for at least 1 hour to set the filling.
- After chilling, make the ganache: Place semi-sweet and milk chocolate chips in a heat-safe bowl. Heat heavy cream in a small saucepan over medium heat until it just simmers. Pour hot cream over chocolate chips, let sit 2-3 minutes, then whisk until smooth.
- Pour ganache over chilled cake and spread evenly. While ganache is still wet, sprinkle halved mini Reese’s cups on top and press gently. If desired, warm 2 tablespoons peanut butter and drizzle over top.
- Return cake to refrigerator for at least 2 hours (or overnight) until ganache is firm. Let sit at room temperature 10 minutes before slicing and serving.
Notes
Don’t overbake the cake; a slightly underbaked cake absorbs the filling better. Poke holes while cake is still warm. Let the filling soak for at least 1 hour in the fridge before adding ganache. For clean slices, use a serrated knife and wipe between cuts. The cake can be stored covered in the refrigerator for up to 5 days or frozen for up to 3 months.
Nutrition
- Serving Size: 1 square (1/16 of ca
- Calories: 400
- Sugar: 32
- Sodium: 320
- Fat: 22
- Saturated Fat: 9
- Carbohydrates: 45
- Fiber: 2
- Protein: 8
Keywords: Reeses poke cake, chocolate peanut butter cake, easy poke cake, game day dessert, 30-minute dessert